

Only an Admin (or the workspace owner) can reach Workspace Settings → Team Members. The Team Roles page needs the Create & edit custom roles permission. Admins and the owner have it by default, and a custom role can grant it to a Member.
The three base roles
Admin
Can access and edit everything, including billing, channels and team settings.
Member
Can access and edit everything except the configuration section: a full day-to-day operator.
Viewer
Can view the messaging modules (Inbox, Contacts, Broadcasts, Automation and so on) but cannot edit, send, or change configuration.
How many people you can have in a workspace depends on your plan. Everyone who has joined counts toward the limit, whatever their role. So do pending invitations and active appointment staff without a login. See What uses up a seat, Plans and Add-ons.
When to build a custom role
DMLY ships no ready-made custom roles. A new workspace has the three base roles and nothing else, which is why the Team Roles page starts empty. Build one when you need someone in between: more than a regular Member, less than an Admin. A bookkeeper who should issue refunds and change finance settings but touch nothing else. A marketer who can approve and send broadcasts but can’t delete contacts. A manager who can see the whole team’s appointments. If a base role already fits, use it. A custom role is extra to maintain.The module and action model
A custom role is built from 68 permissions grouped into 13 modules:
Each module holds separate actions (viewing, creating, editing, deleting, exporting and so on), so you grant the specific thing rather than the whole module. You can tick a module whole, or tick individual permissions inside it.
Permissions are enforced when a page loads, not just by hiding menu items. A member without any permission in a module can’t reach it even with a direct link.
Build a role
1
Open Team Roles
Go to Workspace Settings → Team Members and select Team Roles in the panel header. Select Back to Team Members to return.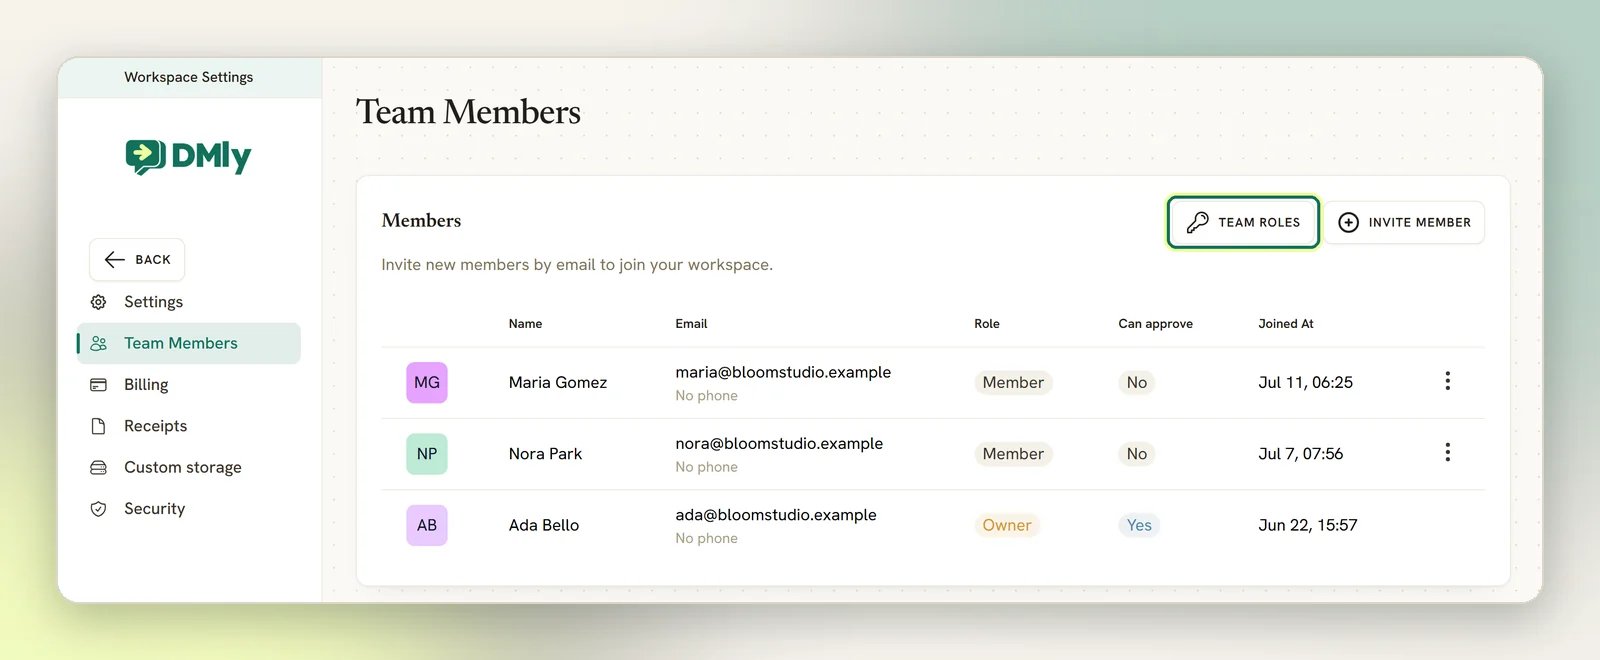
2
Create the role
Select New role, name it something a person would recognise on a picker (“Bookkeeper”, “Front desk”) and open the Permissions matrix.
3
Tick the permissions
Work module by module. Tick a whole module when the role owns that area, or tick individual actions when it doesn’t. Start narrow; you can always add more later.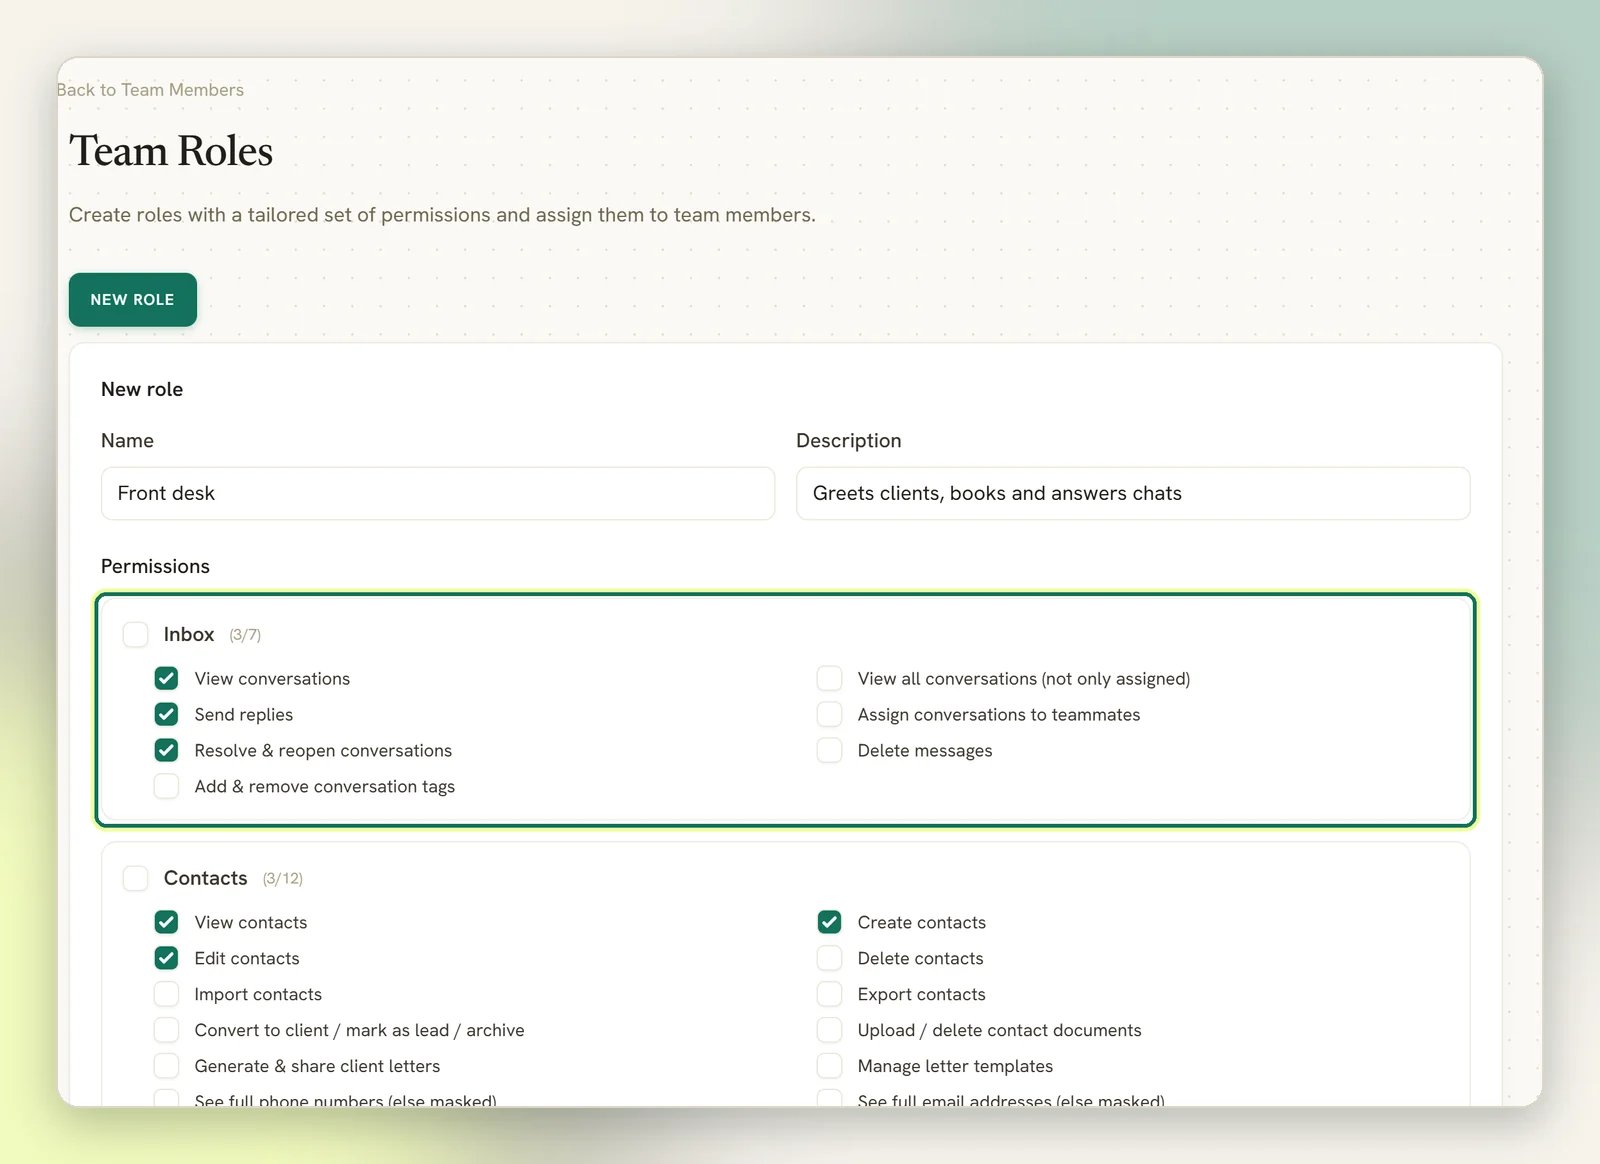
4
Save
The role now appears on the Team Roles list, ready to assign. Creating a role changes nobody’s access until you assign it.
Assign a role
Members are invited by email; there’s no way to add someone directly.1
Invite the member
Go to Workspace Settings → Team Members and select Invite member. Enter their email address and pick a base Role.
2
Pick a custom role (optional)
Under Custom role, choose the role you built, or leave None — use the base role above to stay on the base role.
3
Send the invite
Select Invite. The invitation appears at the top of the members list with a Pending badge until they accept.
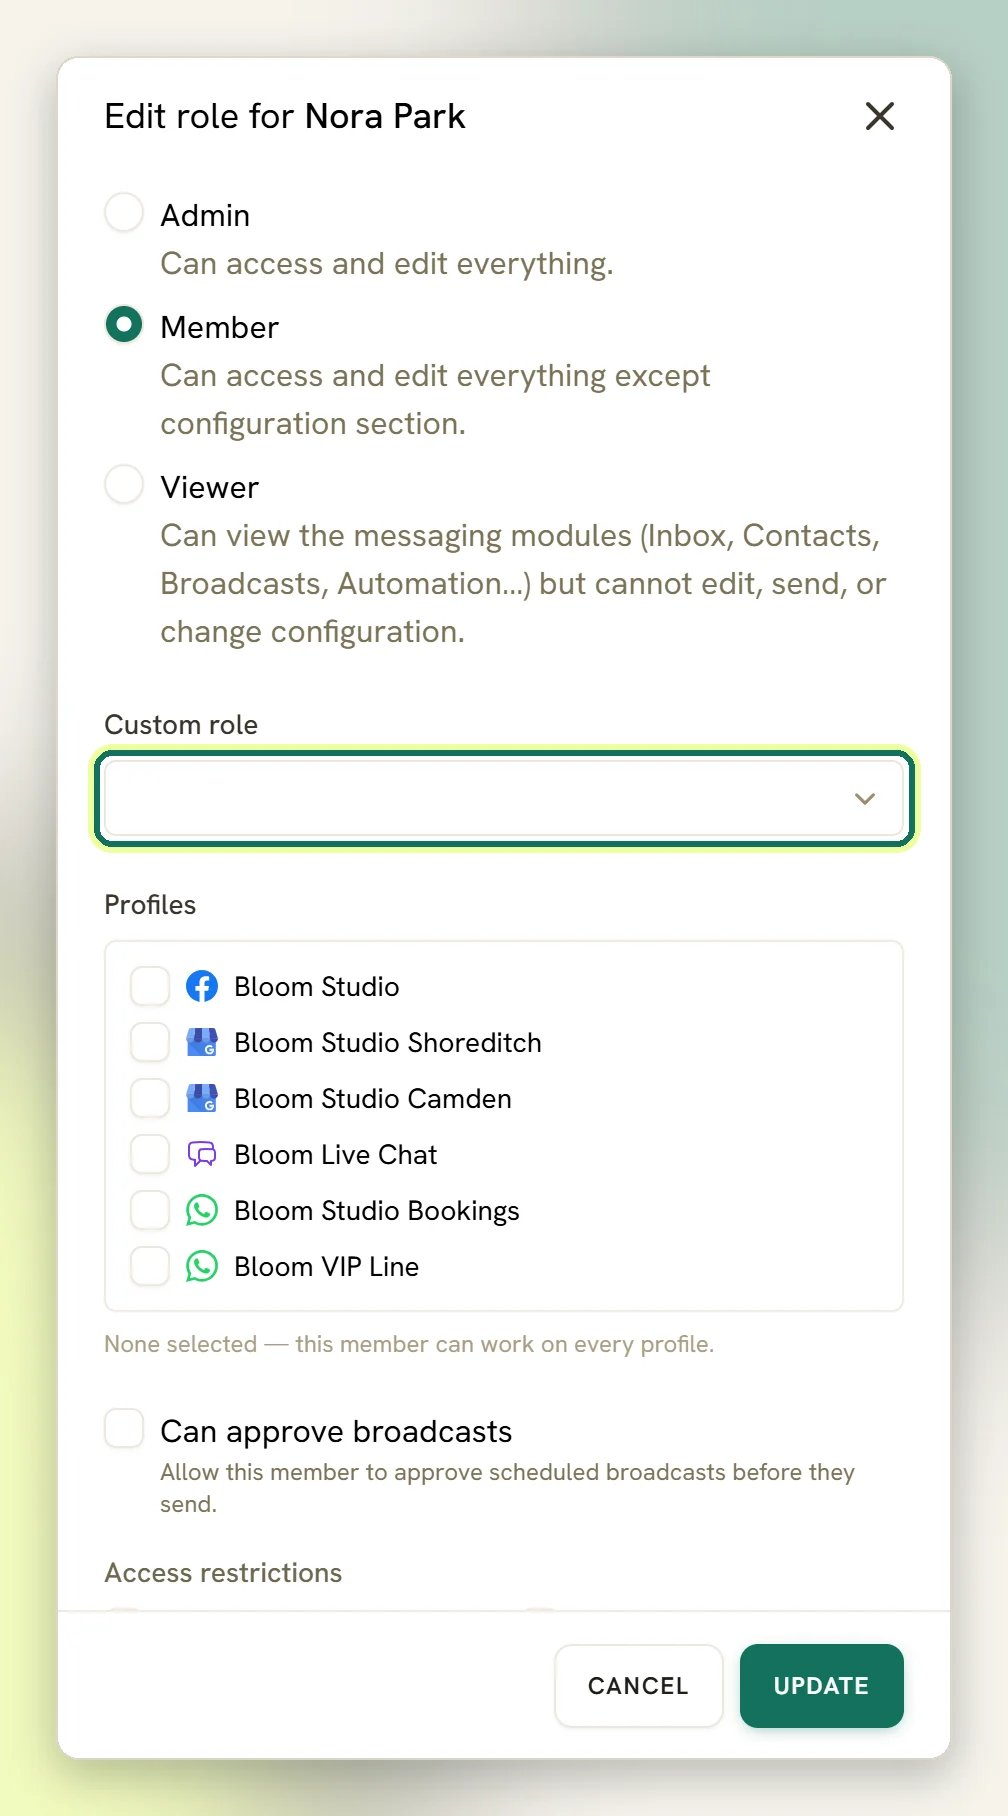
- Profiles: pick connected profiles to limit a member to those profiles and the conversations that arrive on them. None selected means every profile. This applies to everyone below Admin, with or without a custom role.
- Access restrictions (only when no custom role is picked): hide modules such as Inbox, Appointments, Broadcasts, Automation or Reports, mask phone numbers and emails, and allow approving broadcasts.
A pending invitation’s role can’t be edited. If you picked the wrong one, select Cancel on that row and send a fresh invite.
How access is decided
DMLY works down this order for every member:- Owner or base role Admin: full access, always. A custom role assigned on top of Admin makes no difference.
- A custom role is assigned: exactly the permissions ticked on that role, and nothing else. The custom role replaces the base role’s defaults.
- Base role Viewer: view permissions only.
- Base role Member: the standard operator set described above, narrowed by any Access restrictions set on that member.
What happens if I delete a role someone is using?
What happens if I delete a role someone is using?
Members on that role revert to their base role (Member or Viewer) and keep working. Nobody is locked out. The confirmation says so before you delete.
Someone can't reach a page they should be able to
Someone can't reach a page they should be able to
Check their row in Team Members first. If they have a custom role, the base role is being ignored; the fix is a permission on the role, not a different base role. Then check that the role has the module’s view permission as well as the action they’re trying to take.
Someone can still reach a page they shouldn't
Someone can still reach a page they shouldn't
If their base role is Admin, no custom role will narrow them. Drop them to Member and let the custom role do the work.
Related
Team members
Invite people, cancel invitations, and remove members.
Plans
How many members your plan allows.
Business details
Workspace settings an Admin controls.
Security
Owner-only workspace actions.