

Your workspace name is your business name
There is no separate “business profile” hiding somewhere. The workspace name is the business name, the one you typed as Business name when you signed up, used verbatim. You change it in one place: your user menu at the bottom of the sidebar → Settings → the Business Details tab → Business Name.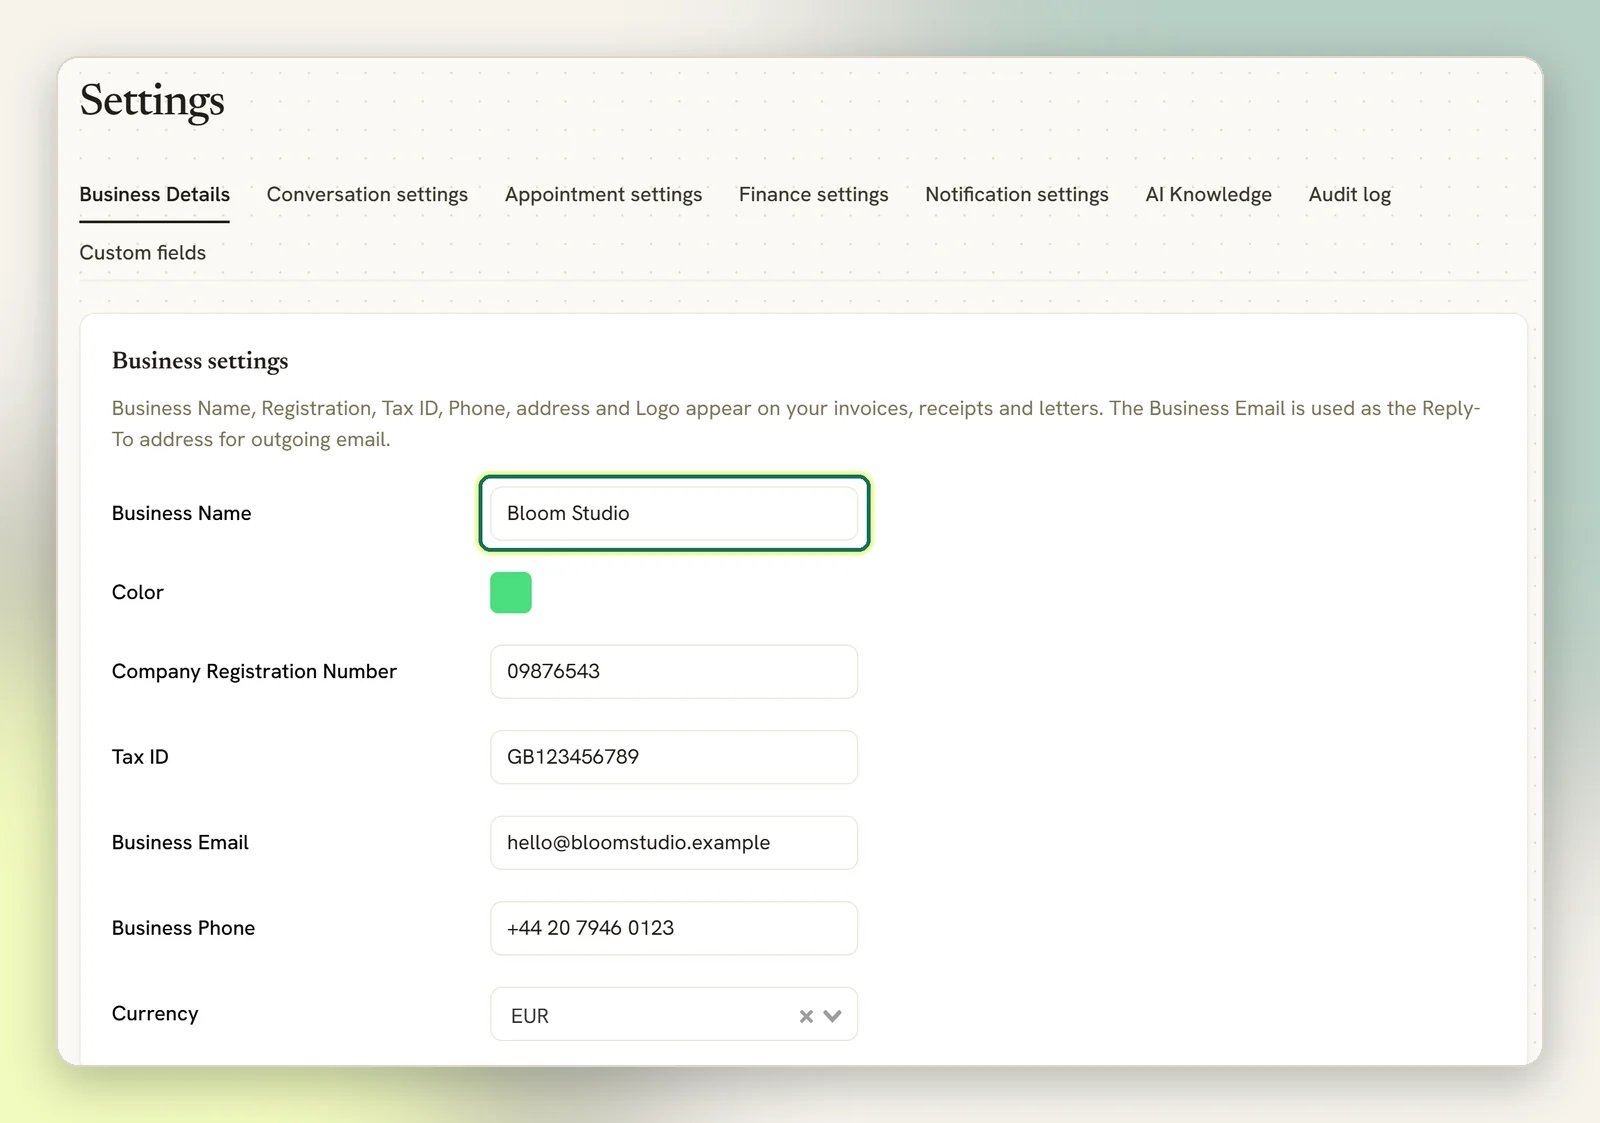
The Business Email on that tab is used as the Reply-To address on outgoing email. It is not a login; a login belongs to a person, on the Team Members page.
What lives inside a workspace
Almost everything. A workspace is the container, and nothing crosses from one workspace into another.Channels
Your WhatsApp number, Facebook Page, Instagram account, Telegram bot and Live Chat widget.
Contacts
Every person you have talked to, with their tags, custom fields and history.
Inbox
Every conversation, on every channel, with assignment and status.
Automations
Your flows, bots and message templates.
Business records
Appointments, offerings, invoices, payments and Google reviews.
Team and billing
Who can log in, what they can do, and which plan you are on.
Team members belong to a workspace
People do not have a global DMLY account that sees everything. A person is invited into a workspace, and their access stops at its edge. You invite by email only; there is no way to add someone directly. Go to your user menu → Team Members → Invite member, enter their email, pick a role, and select Invite. They appear as Pending until they accept.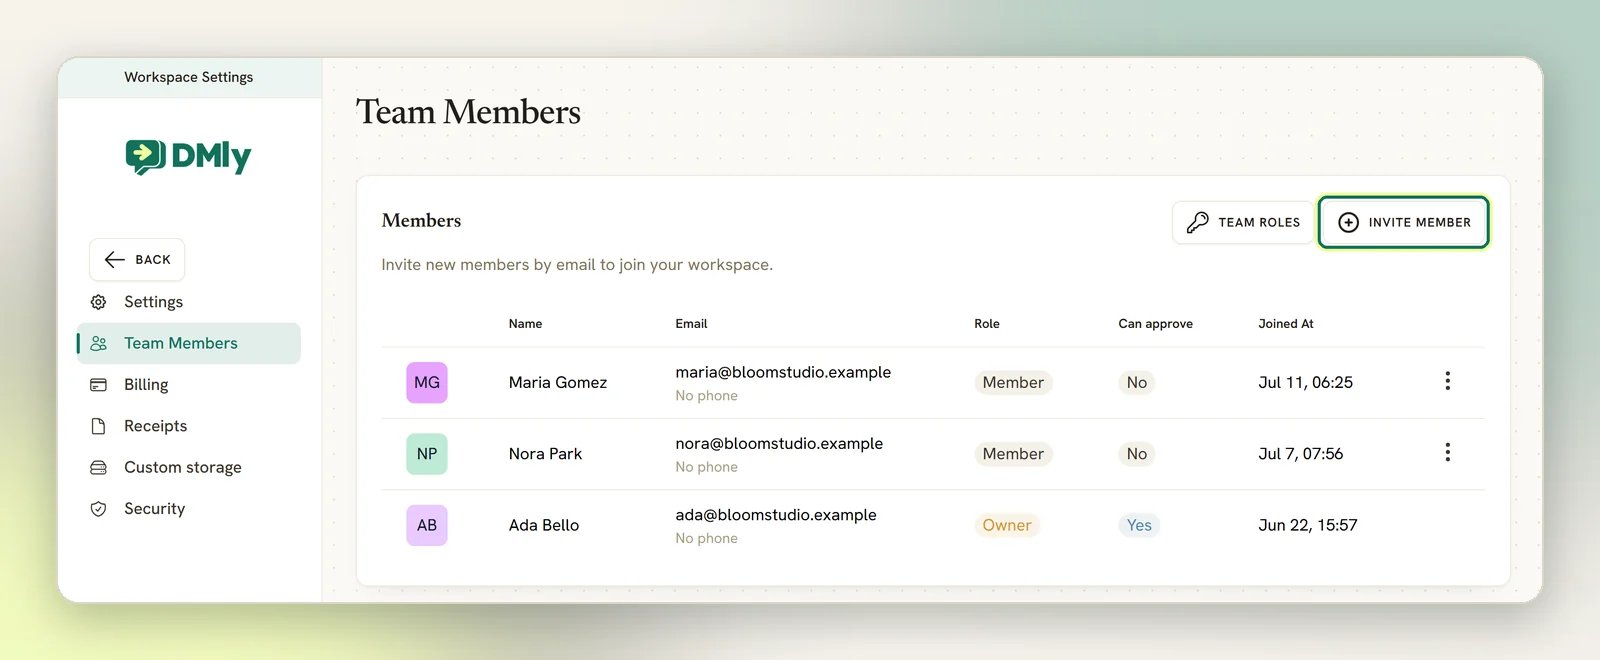
If those three are too blunt, you can build your own on the Team Roles page and pick it from the Custom role dropdown in the invite modal. See Roles and permissions.
If the same person works for two of your businesses, invite them to both workspaces with the same email address. They then get both workspaces in their switcher, with a role in each.
Switching between workspaces
If you belong to more than one, select your name and avatar at the bottom of the sidebar. The dropdown shows a tile per workspace, each carrying that workspace’s initials on the colour you gave it. Select one to switch to it.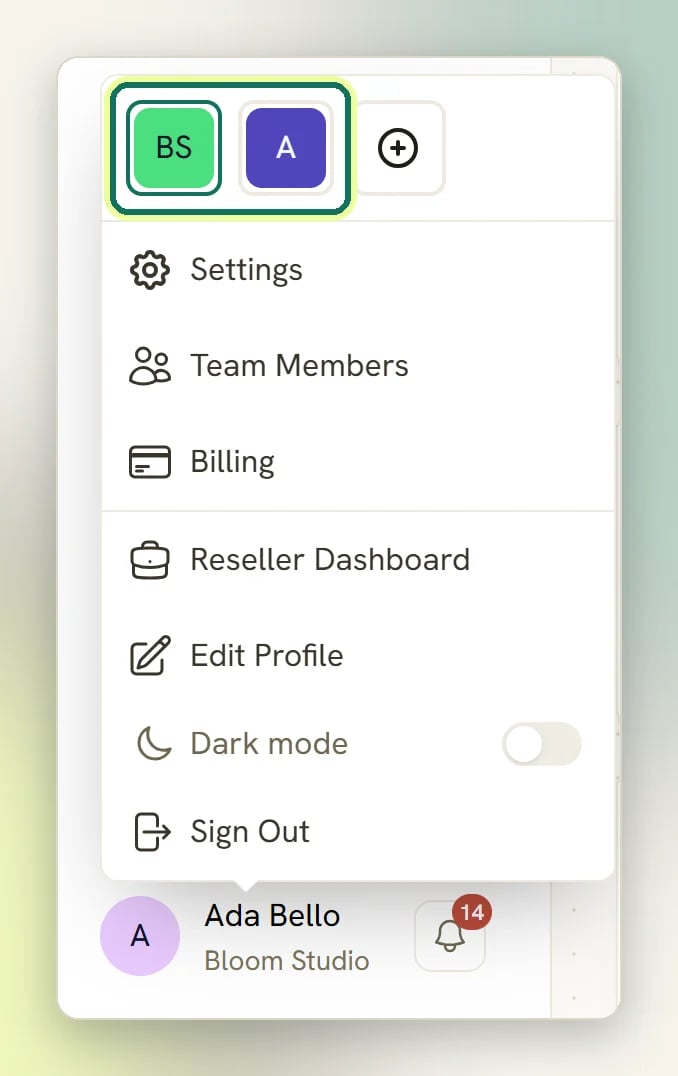
When you want a second workspace, and when you don’t
The test is simple: is it a different business to your customers? Worth a second workspace- A second brand with its own name, logo and WhatsApp number, where customers should never see the two mixed.
- A separate legal entity that invoices under its own registration and tax details.
- An operation with its own team who should not see the first business’s conversations at all.
- A second location of the same brand. One workspace, and separate your staff and calendars inside it.
- A department (sales vs support). One inbox, with assignment and tags. See Assigning chats and Tags and segments.
- A second WhatsApp number for the same business. A workspace holds several channels; add the number as another channel.
- Testing. A second workspace starts from nothing (no contacts, no templates, no approved WhatsApp templates), and you would rebuild all of it.
Creating another workspace
Open the same menu you switch from (your name and avatar at the bottom of the sidebar) and select the + beside the workspace tiles. Name the new workspace after the business it is for; that name is what your customers will see.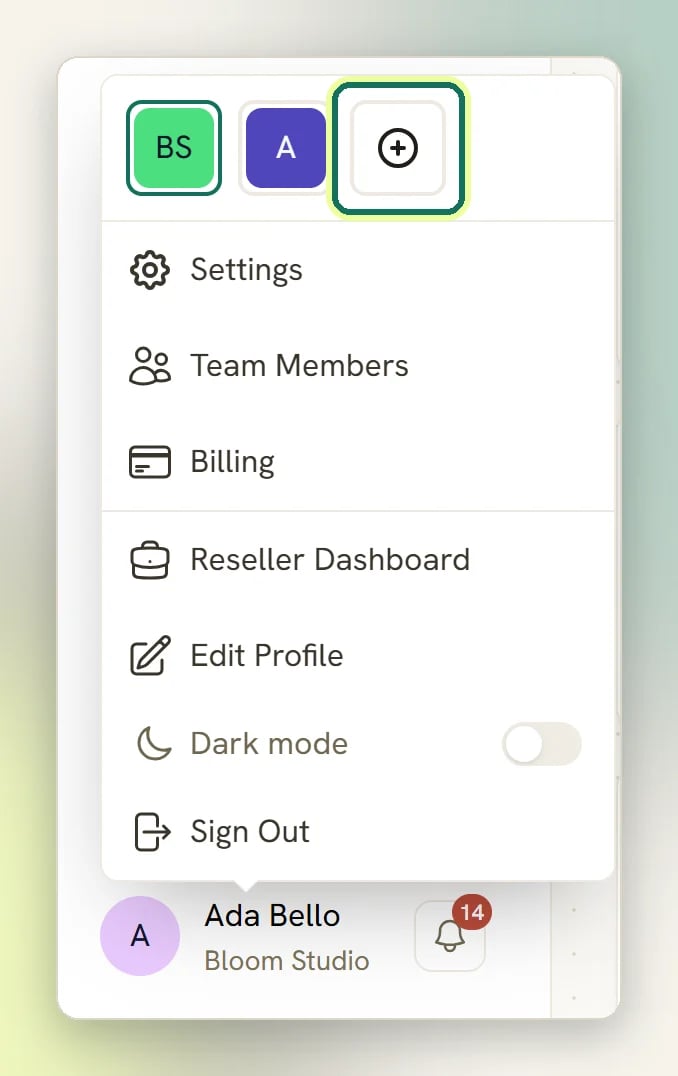
How this shows up in the API
The workspace is not a parameter in the DMLY API; it is the key itself. An API key is minted for one workspace, and the key you send is what tells DMLY which business you mean. That is why no endpoint takes a workspace id:GET /api/v1/contacts returns the contacts of the workspace that key belongs to, and nothing else. It is the same boundary as in the dashboard, enforced the same way.
If you run two businesses on DMLY, you mint two keys and pick the key rather than passing an id.
Authentication
How to mint a key and send it on a request.
API introduction
What the DMLY REST API covers.
Deleting a workspace
Deleting is permanent and it takes the business with it: conversations, contacts, appointments, records, all of it. There is no undo and no trash. Only the workspace owner can do it. It lives on the Security page, under Delete workspace, and you have to type the workspace name exactly before the button will work.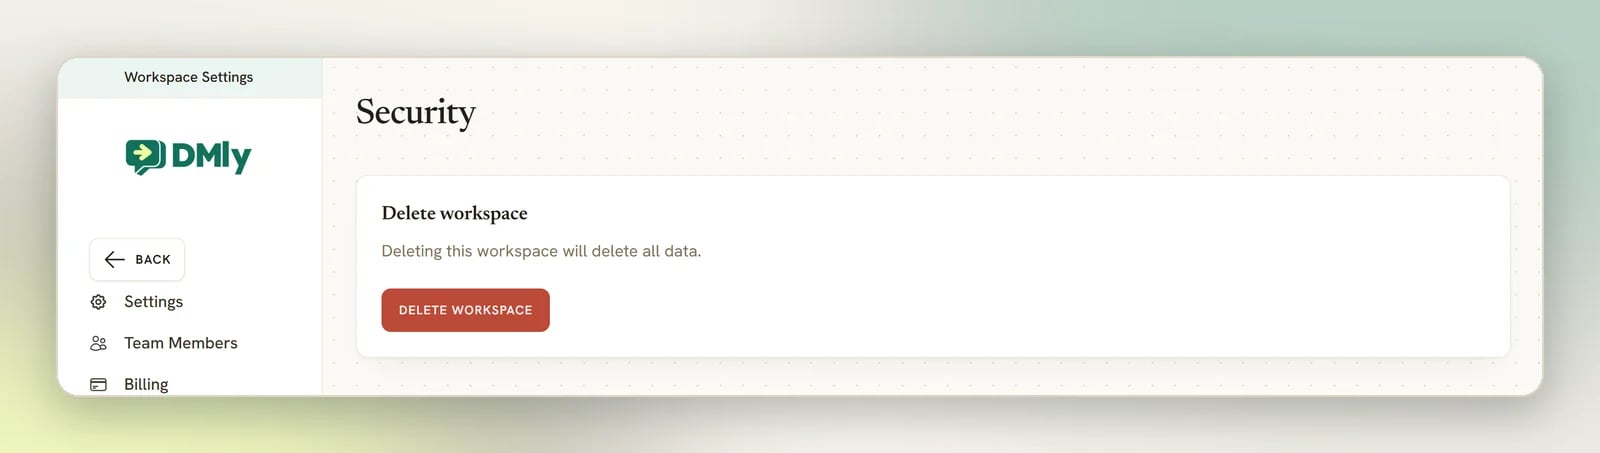
Next
Set up your workspace
Connect WhatsApp and get your first conversation in.
Find your way around
The sidebar, the switcher and where settings hide.