

Change your email
1
Open Profile Information
Find the Profile Information section at the top and edit the Email field.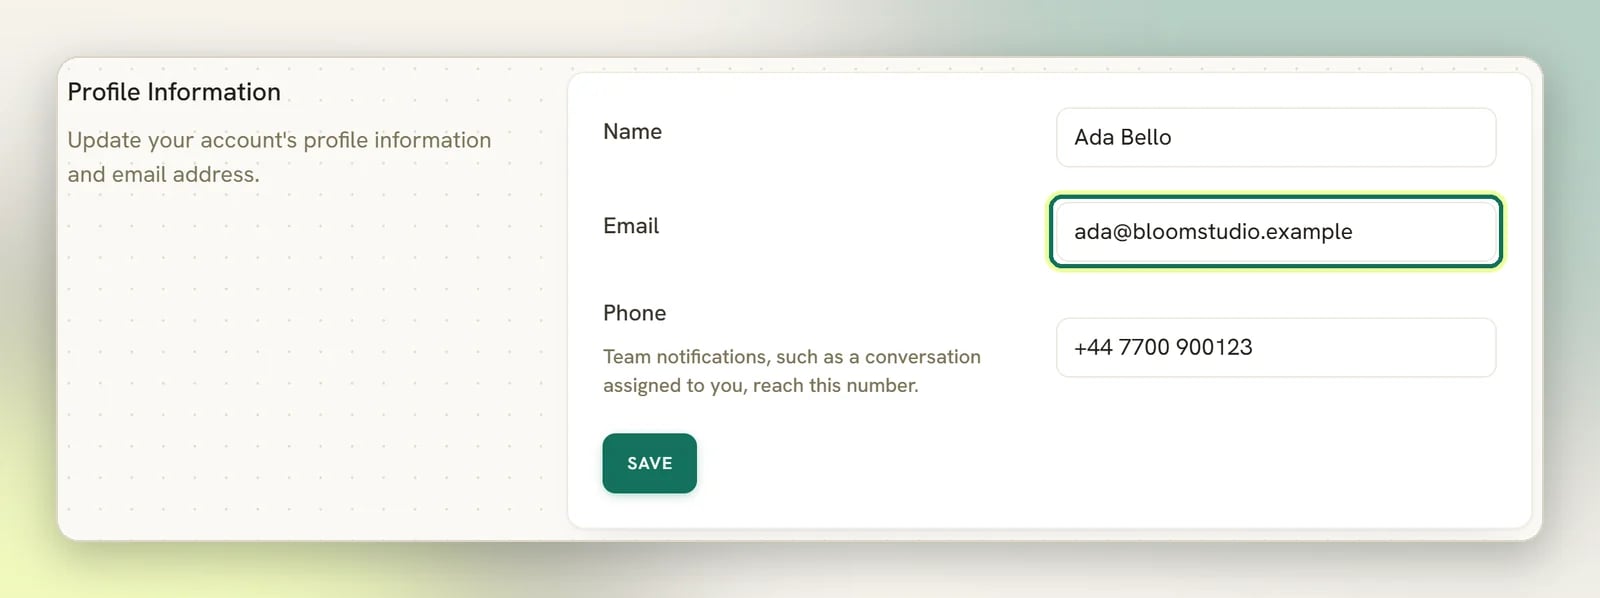
2
Save
Select Save. The change takes effect immediately; there is no confirmation link sent
to the new address.
Email is what you sign in with, so the next time you sign in, use the new address. You stay
signed in on your current device right away.
Set your timezone and other preferences
1
Open My Preferences
Find the My Preferences section and open the Timezone dropdown.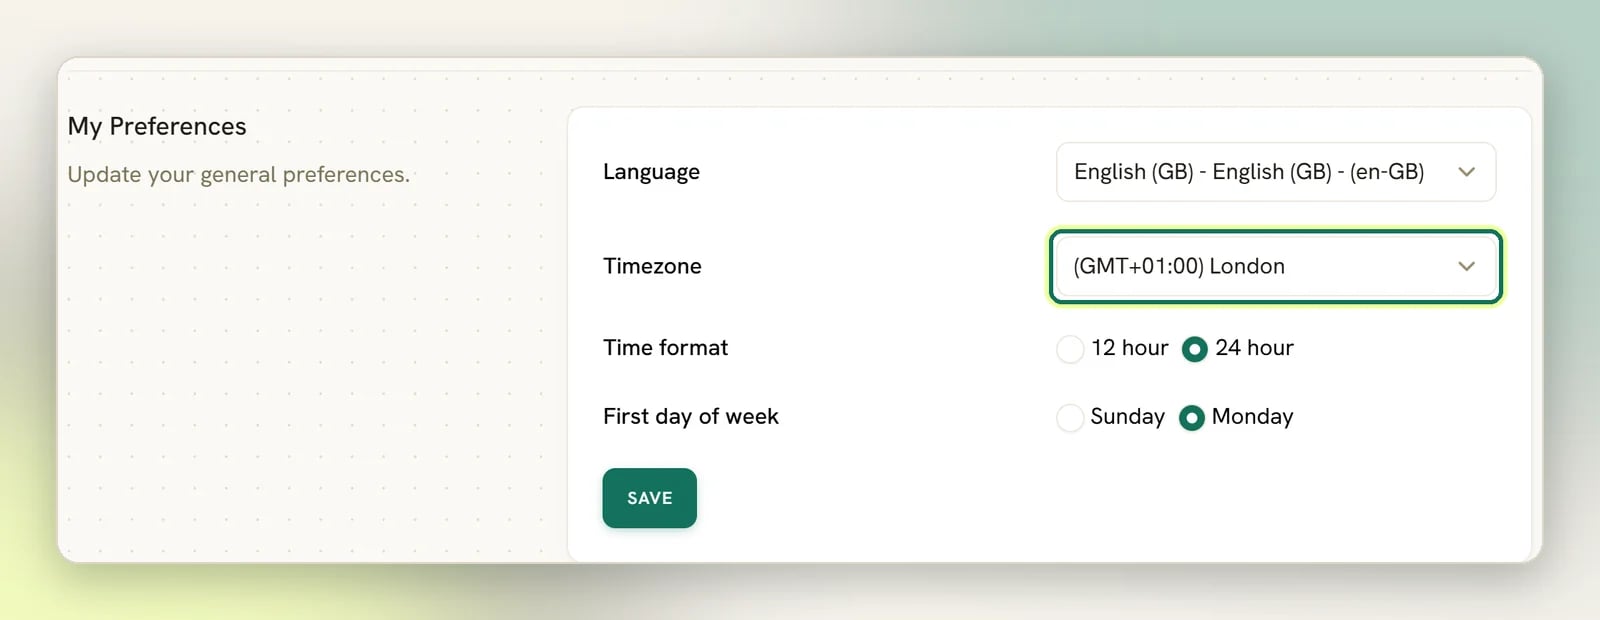
2
Choose your timezone and save
Pick your timezone and select Save.
Your timezone is a personal preference; it does not change what anyone else sees, so two
teammates in different countries each set their own. The business-level timezone that
controls how times appear on your public booking page is separate, under Appointments →
Settings.
Turn on two-factor authentication
Two-factor authentication lives on your profile, not on the workspace Security page; that page only handles deleting the workspace. It is available by default, and each user turns it on for themselves.1
Open Two Factor Authentication
Scroll to the Two Factor Authentication section. It shows a red Disabled badge until
you turn it on. Select Enable.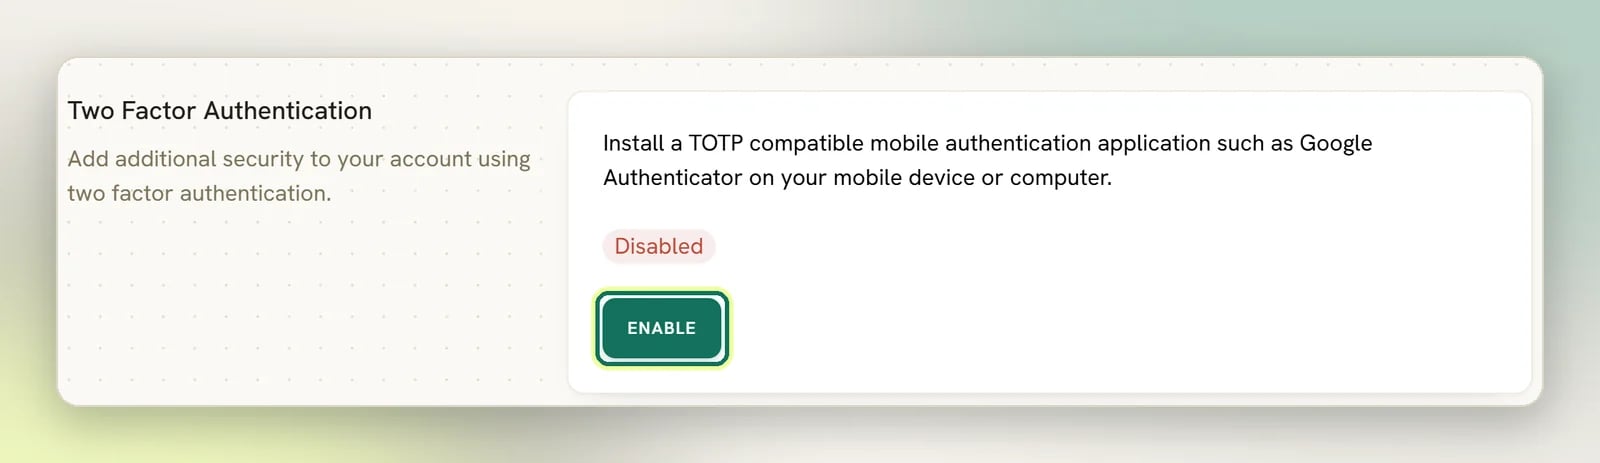
2
Install an authenticator app
If you don’t already have one, install a TOTP-compatible authenticator app, such as Google
Authenticator, on your phone or computer.
3
Scan the QR code
DMLY shows a QR code and a secret key. Scan the QR code with your authenticator app, or
type in the secret key if you’d rather add it manually.
4
Enter the code and confirm
Type the 6-digit code your authenticator app shows into the Code field and select
Confirm.
5
Save your recovery codes
The badge switches to Enabled and DMLY shows a set of recovery codes. Store them
somewhere safe, such as a password manager; they’re the only way back in if you lose your
authenticator app.
DMLY may ask you to re-enter your password before this section unlocks. That’s a routine
security check on a sensitive change, not something you need to redo afterward.
Change your password
1
Open Update Password
Scroll to the Update Password section.
2
Fill in the three fields
Enter your Current password, then your New password, then repeat it in Confirm
new password.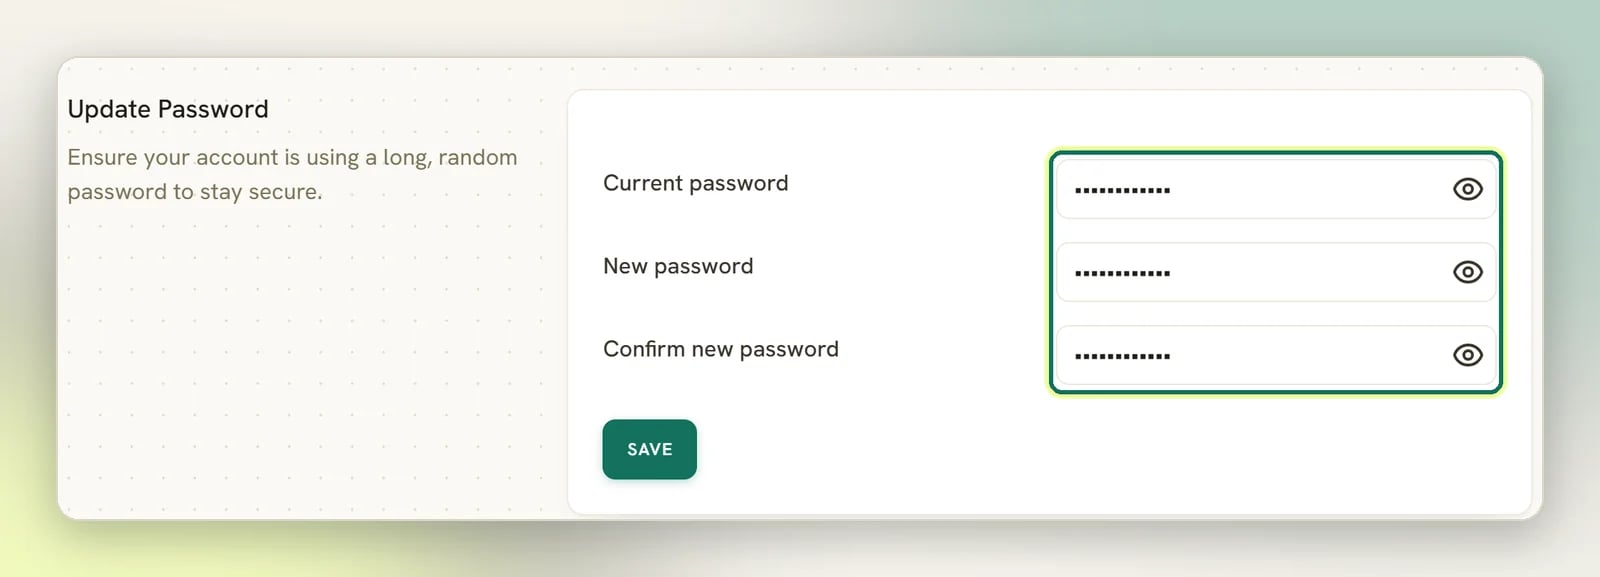
3
Save
Select Save.
Changing your password signs you out everywhere else. Every other browser session is signed
out the next time it loads a page, and every mobile app sign-in is revoked, including one on
your own phone, so you sign in again there. The browser you change it from stays signed in.
It does not touch workspace API keys or an AI client already connected over MCP. See
what changing your password signs out.
What is not on your profile
Notification settings are workspace-wide and set by an admin. The dashboard has no per-user notification settings. In the mobile app you can choose which events push to your phone, switch push off, and turn on a daily digest. See Notification settings.Delete account
Workspaces you belong to but don’t own are not deleted. You are simply removed from them, and their owner keeps full access, even if you were the only Admin. The Delete Account section only appears if your provider allows account deletion.Business details
The business name, address, currency and logo for the whole workspace.
Team members
Invite teammates and set what each one can do.