

- Connecting WhatsApp needs Meta’s approval of your number.
- Your WhatsApp message templates are reviewed by Meta on their schedule, not yours.
Your Overview dashboard (the page you land on after signing in) has a live Get
started checklist covering this same setup, and it ticks items off on its own as you
finish them. Use this page for the how; use that one to see what’s left. Full details are
at the end of this page.
1
Fill in your business details
Open the menu at the bottom of the left sidebar (your name and avatar), select
Settings, and stay on the first tab: Business Details.Fill in Business Name, Business Email, Business Phone, Currency, your
Business Address, and upload a Logo.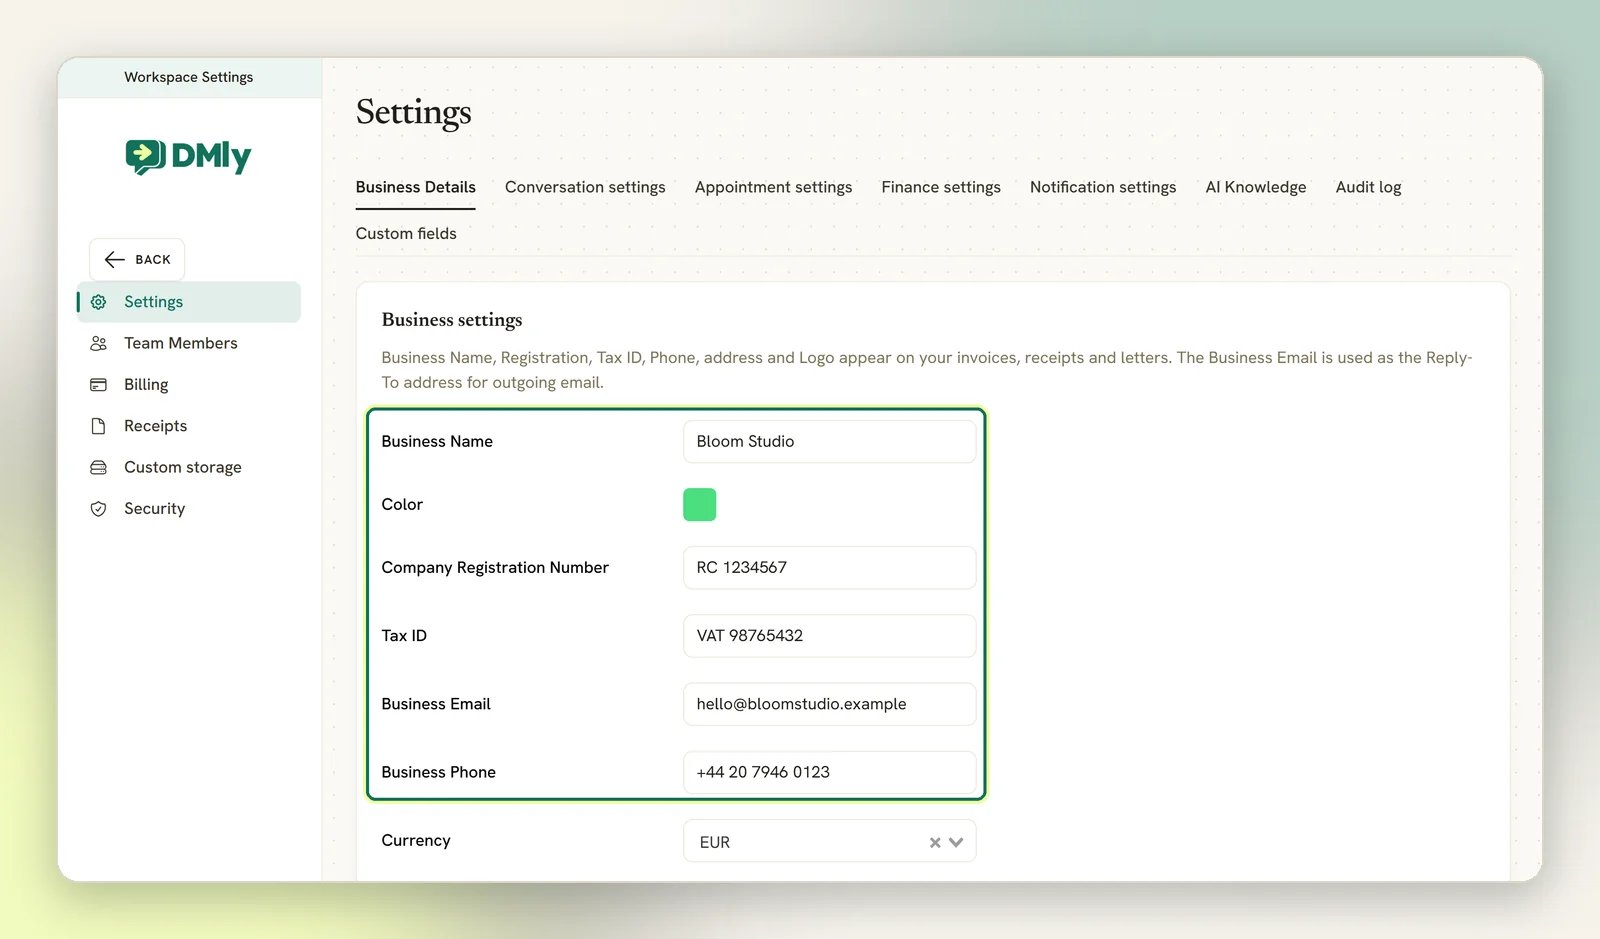
- They are printed on your invoices and receipts.
- They are used on your public booking page.
- Your Business Email becomes the Reply-To address on outgoing email.
2
Connect WhatsApp
In the left sidebar, go to Configurations → Integrations. The Channels tab is
open by default. Select Add account, then WhatsApp.You get two ways to connect: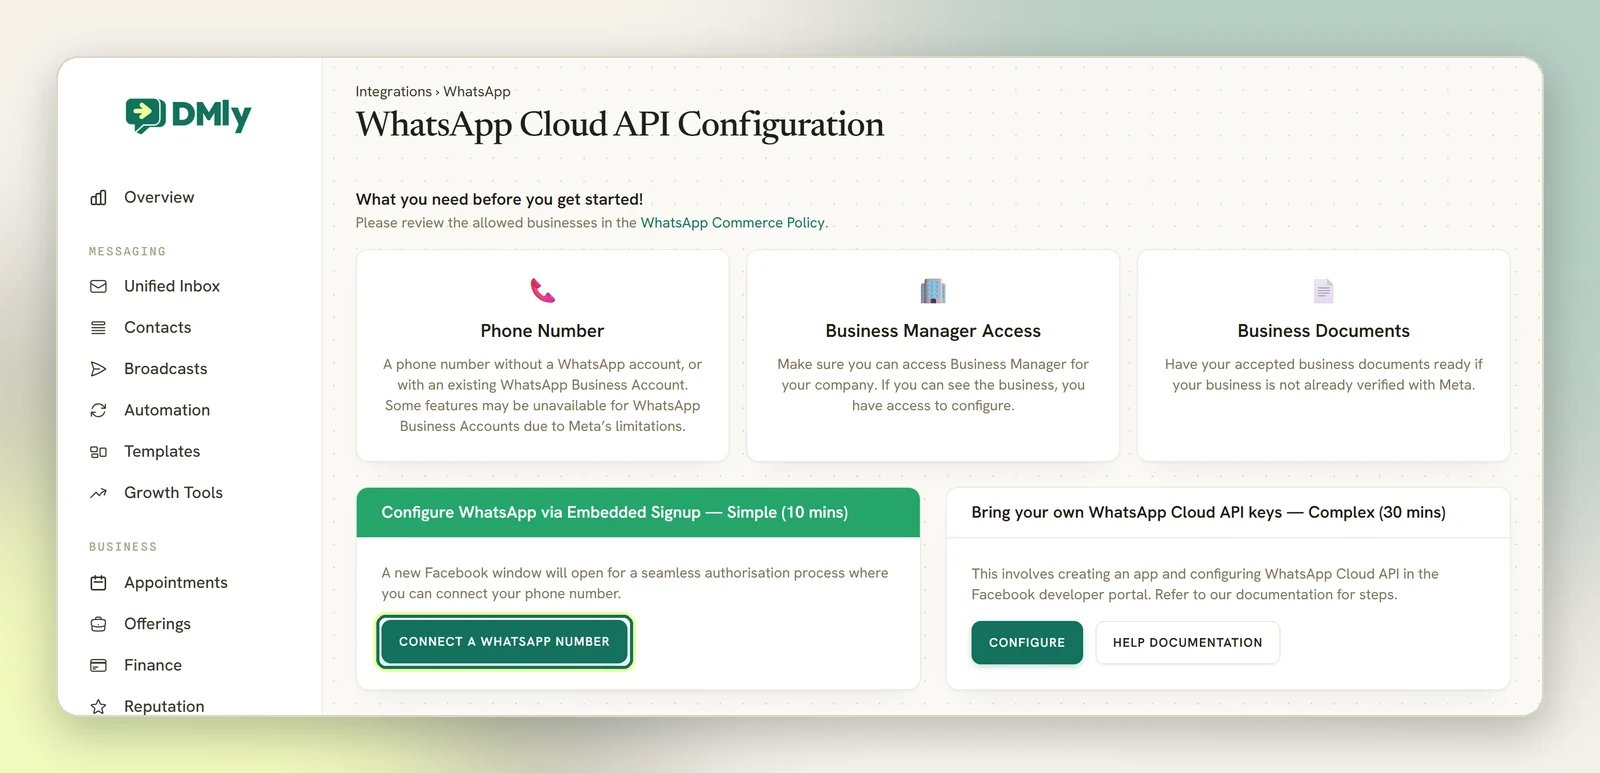
- Configure WhatsApp via Embedded Signup — Simple (10 mins), then Connect a WhatsApp number. Use this one.
- Bring your own WhatsApp Cloud API keys — Complex (30 mins), then Configure. Only if you already run your own Meta app.
3
Let Meta review your message templates
Nothing to click here, but start the clock now.The moment a live WhatsApp number connects, DMLY submits its built-in 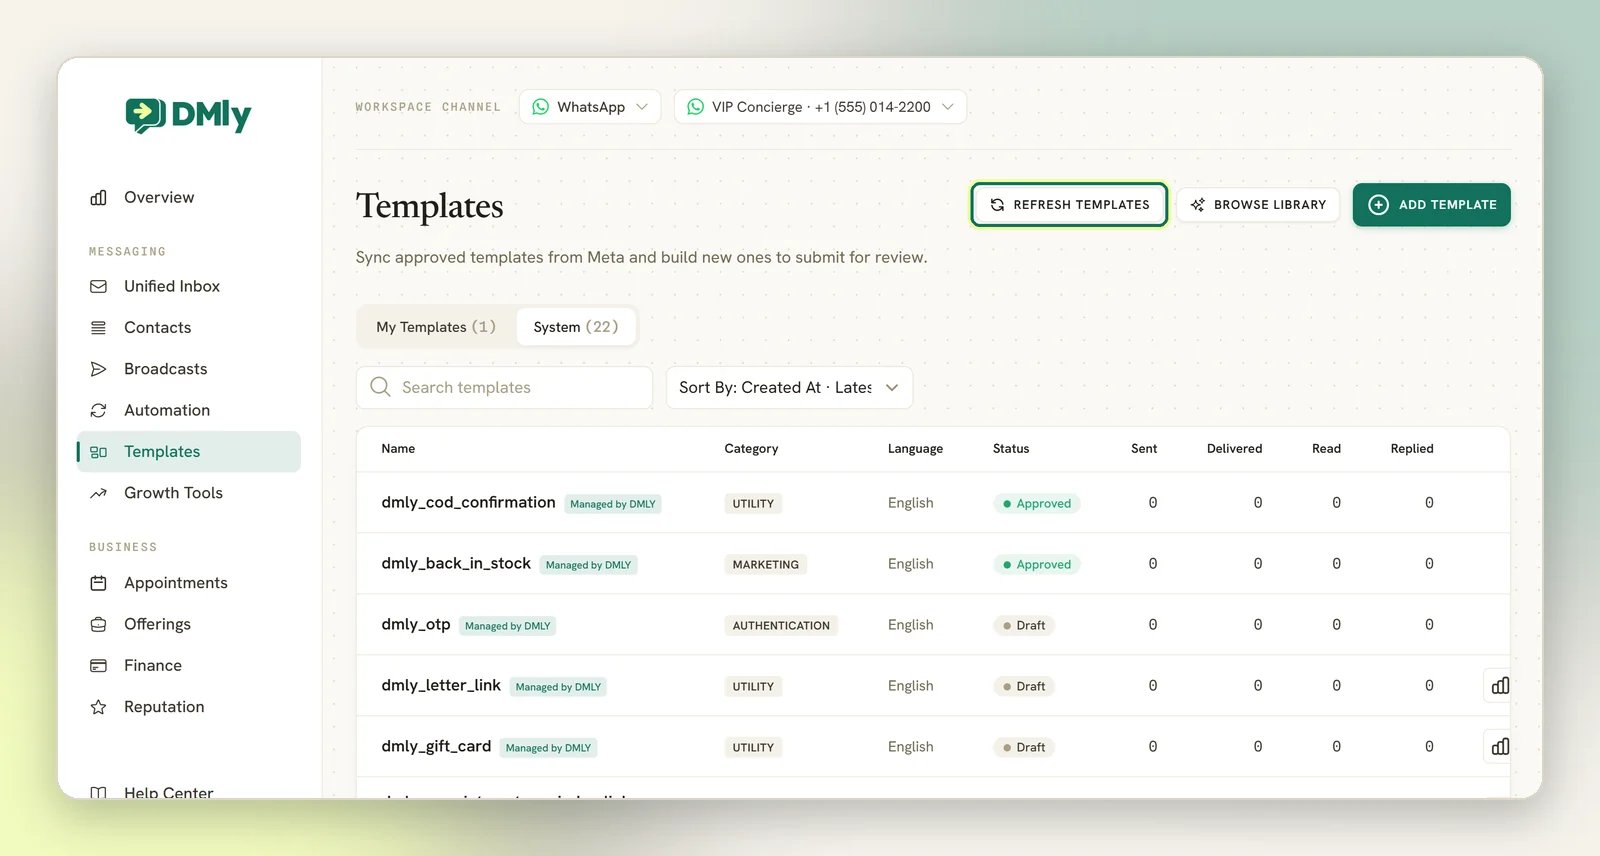
dmly_ message
templates to Meta for review. WhatsApp only lets you message someone outside a 24-hour
window using a template Meta has approved. So until that review comes back:- Your WhatsApp broadcasts have nothing to send. The template picker lists approved templates only; a template that is Draft, Pending or Rejected simply is not in the dropdown.
- Notifications that would go out over WhatsApp fall back to a plain message if the contact messaged you in the last 24 hours. Outside that window, WhatsApp can’t carry them. A contact who reached you on another channel (Instagram, say) gets it there instead, or by SMS if you’ve switched SMS on for that notification. Any email copy you’ve switched on still goes out. Only a contact you can reach on WhatsApp alone misses it.
4
Send yourself a test message
From your own phone, message the number, page or bot you just connected. Then open
Unified Inbox in the sidebar and check it arrived.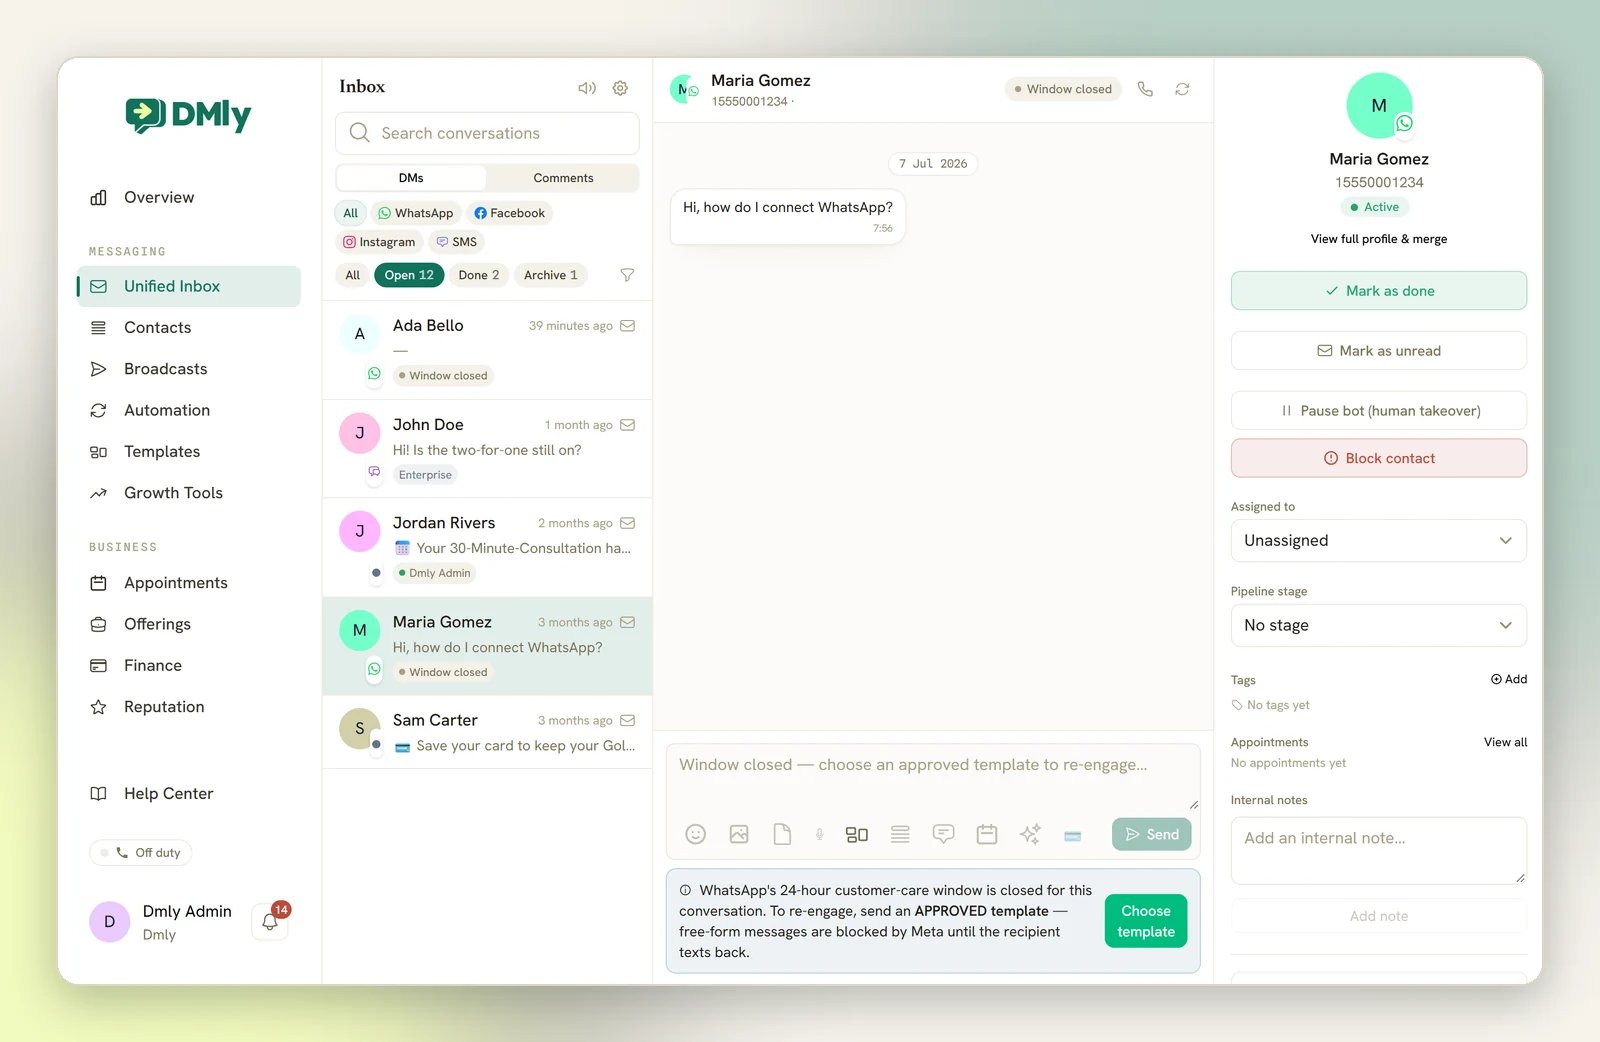
Inbox overview →
Nothing arrives in the Inbox
Nothing arrives in the Inbox
Check the channel is listed on Configurations → Integrations → Channels, and that
its card has no red dot. That dot means Unauthorized, and the channel needs
connecting again.If the channel is there with no red dot and messages still do not appear, inbound
delivery is a setup problem on the Meta or Telegram side rather than something you can
fix from this screen. Contact support with the channel name and the time you sent the
test.
5
Add your services or products
Only if you have something to book or sell. Skip this if you’re a pure customer-support
business.Go to Offerings in the sidebar.
- Taking bookings or running classes? Open Services and add one, say a cut and blow dry or a Tuesday spin class. Its duration, buffers, price and payment mode all live here, along with Show on public booking page.
- Selling physical stock? Open Products and add one there.
6
Set your availability and brand your booking page
Only if you take bookings or run classes.Go to Business → Appointments → Staff, add yourself or your staff, and fill in
Working hours. Nobody is offered a slot until this is set.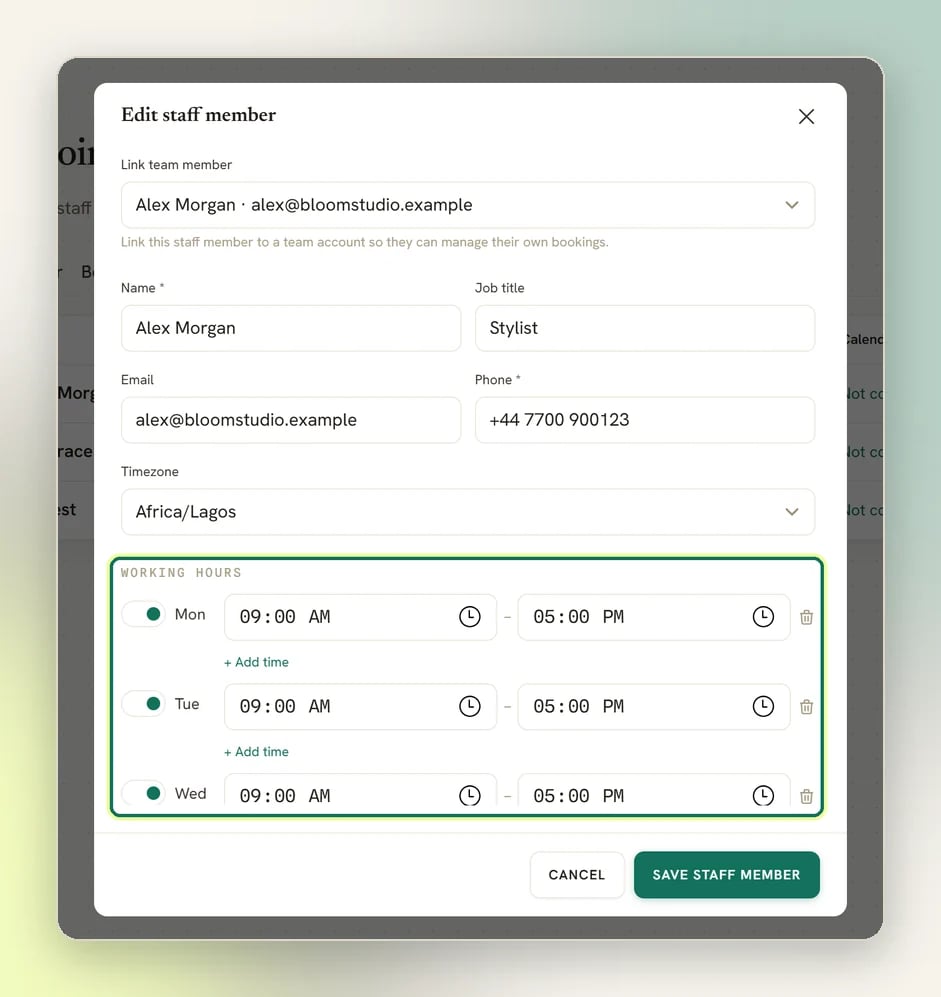
7
Connect a payment gateway
Only if you plan to take payment online, whether for a booking, an invoice or a product
order.Go to Configurations → Integrations and open the tile for your gateway (Stripe,
PayPal, Paystack, Razorpay, MyFatoorah or Mercado Pago). Paste in your credentials. Then
add the webhook endpoint the tile shows you, in the provider’s own dashboard.Connect a payment gateway →
8
Invite your team
Open the same bottom-of-sidebar menu and select Team Members, then Invite member.
Enter their email address, pick a Role, and select Invite.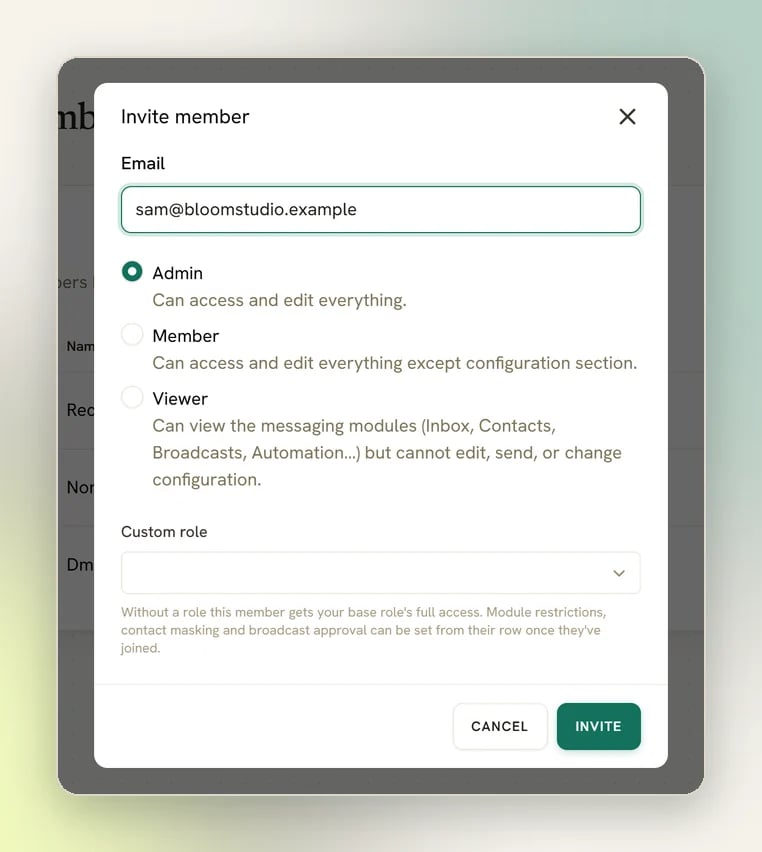
- Admin: “Can access and edit everything.”
- Member: “Can access and edit everything except configuration section.”
- Viewer: read-only. They can see the messaging modules but can’t change anything.
9
Turn on your first automation
Go to Automation in the sidebar and build a flow.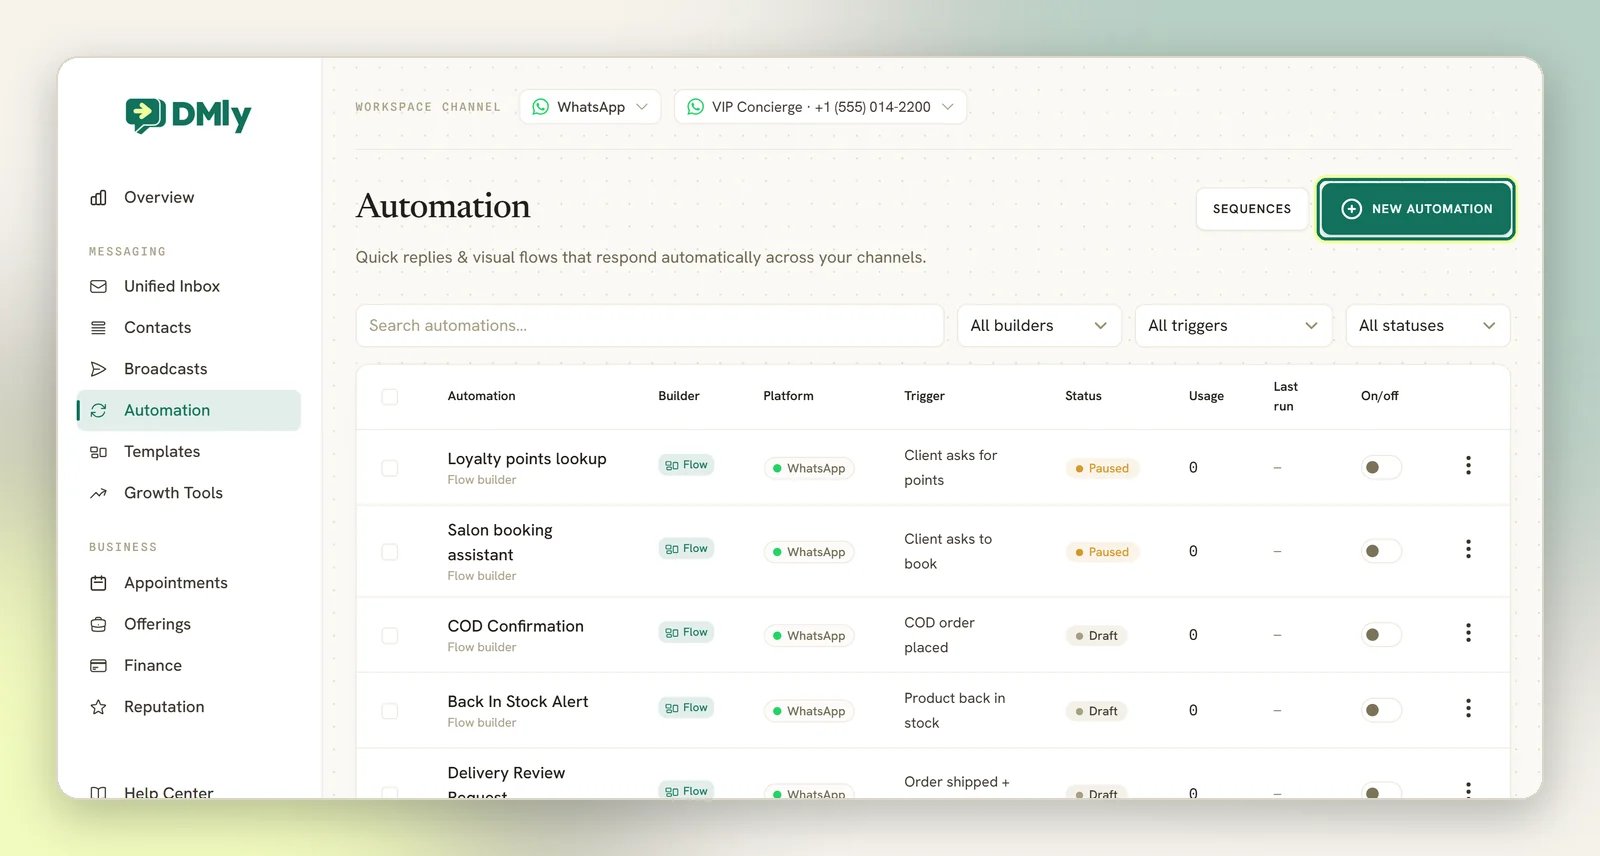
10
Bring in your contacts
Go to Contacts in the sidebar and select Import, which opens a page headed
Import contacts. Take the Download sample file first and match your columns to
it. That one habit prevents most failed imports.Contacts come last on purpose. Anyone who messages you becomes a contact automatically,
so this step is about your existing list, not about getting started. Import it once your
channel is live and your team can answer, so any replies land somewhere useful.Import contacts from CSV → · Tags and segments →
The Get started checklist on your Overview dashboard
Workspace managers (the owner and any teammate with the Admin role) see a Get started panel at the top of the Overview dashboard. Member and Viewer roles don’t see it, since most of its steps link to setup screens they can’t open. The first time it shows, or whenever you select Change business type, it asks what kind of business you run:- Salon, spa or barbershop
- Clinic or wellness
- Retail or e-commerce
- Restaurant or cafe
- Real estate
- Agency or consultancy
- Education or coaching
- Something else
- Connect a channel and it flips to done on its own.
- Delete your only service later and it un-ticks itself just as automatically.
- It can take up to a minute to catch up after you finish something elsewhere, so don’t worry if it looks a step behind.
Dismissing the checklist (the × in the corner, or Dismiss once every step is done)
hides it for good. There’s no setting to bring it back, so only dismiss it once you’re
actually finished, not just to tidy up the dashboard.
Where to go next
Learn the Inbox
Assign chats to teammates, set conversation status, and save quick replies for the
questions you answer twenty times a day.
Send your first broadcast
Once a template is approved, send a campaign to a segment of your contacts.
Take bookings
Add your services as Offerings and let clients book appointments themselves.
Get paid
Invoices, payments and payment links you can share straight into a WhatsApp chat.
Collect Google reviews
Connect your Google Business Profile and ask happy clients for a review over WhatsApp.
Find your way around
A tour of the sidebar, the profile switcher and where settings actually live.