

A segment is a filter, not a list
This is the thing most people get wrong on day one, so read it before you build anything. There is no “add this contact to a segment” action anywhere in DMLY, because segments have no members to add. Membership is worked out at the moment you use the segment. That means:- Segments change on their own. Tag someone VIP tomorrow and they are in your VIP segment tomorrow, without you touching the segment.
- People fall out silently. A segment built on
Inactive ≥ <days>dloses a contact the moment they reply to you. A broadcast you scheduled last week does not go to the people who matched last week; it goes to whoever matches when it sends. - You cannot freeze a segment. If you need a fixed group that will not shift underneath you (“everyone who came to the October open day”), use a tag. A tag is the only thing in DMLY that holds still.
If a segment is a saved question, tags are the best answers to give it. Most useful segments
are mostly tag criteria.
Tags
A tag is a name and a colour. Any contact can have any number of them.Create and apply tags
You don’t create tags up front; you create them by using them. On the New contact and Edit contact form, type a name into the tag picker and press enter and the tag is created and attached in one move (Type a new tag name and press enter to create it.). The Add tag box on a contact’s profile takes a new name the same way. Segments are the exception: their tag pickers only offer tags that already exist, so typing a new name there creates nothing. Tags get onto contacts several ways:- On the contact. Open the contact and use Add tag in the tag editor.
- On the contact form. New contact and Edit contact both have a tag picker.
- From a CSV import. The
tagscolumn accepts several tags separated by a pipe or a comma:VIP|Buyer. Missing tags are created during the import. See Import contacts from CSV. - From an automation. The Add a tag action tags a contact as it moves through a flow.
- From the AI agent. Its Add tags tool can tag a contact mid-conversation.
- From DMLY itself. The Unsubscribe tag is applied for you. See below.
Manage tags
Contacts → Manage tags opens your workspace’s tag list, where you rename a tag, change its colour, or delete it. Tags belong to the Workspace, so every channel and every team member shares the same list. To bulk-create tags, use Import CSV and Download sample, which sit above the tag list in that same Manage tags panel.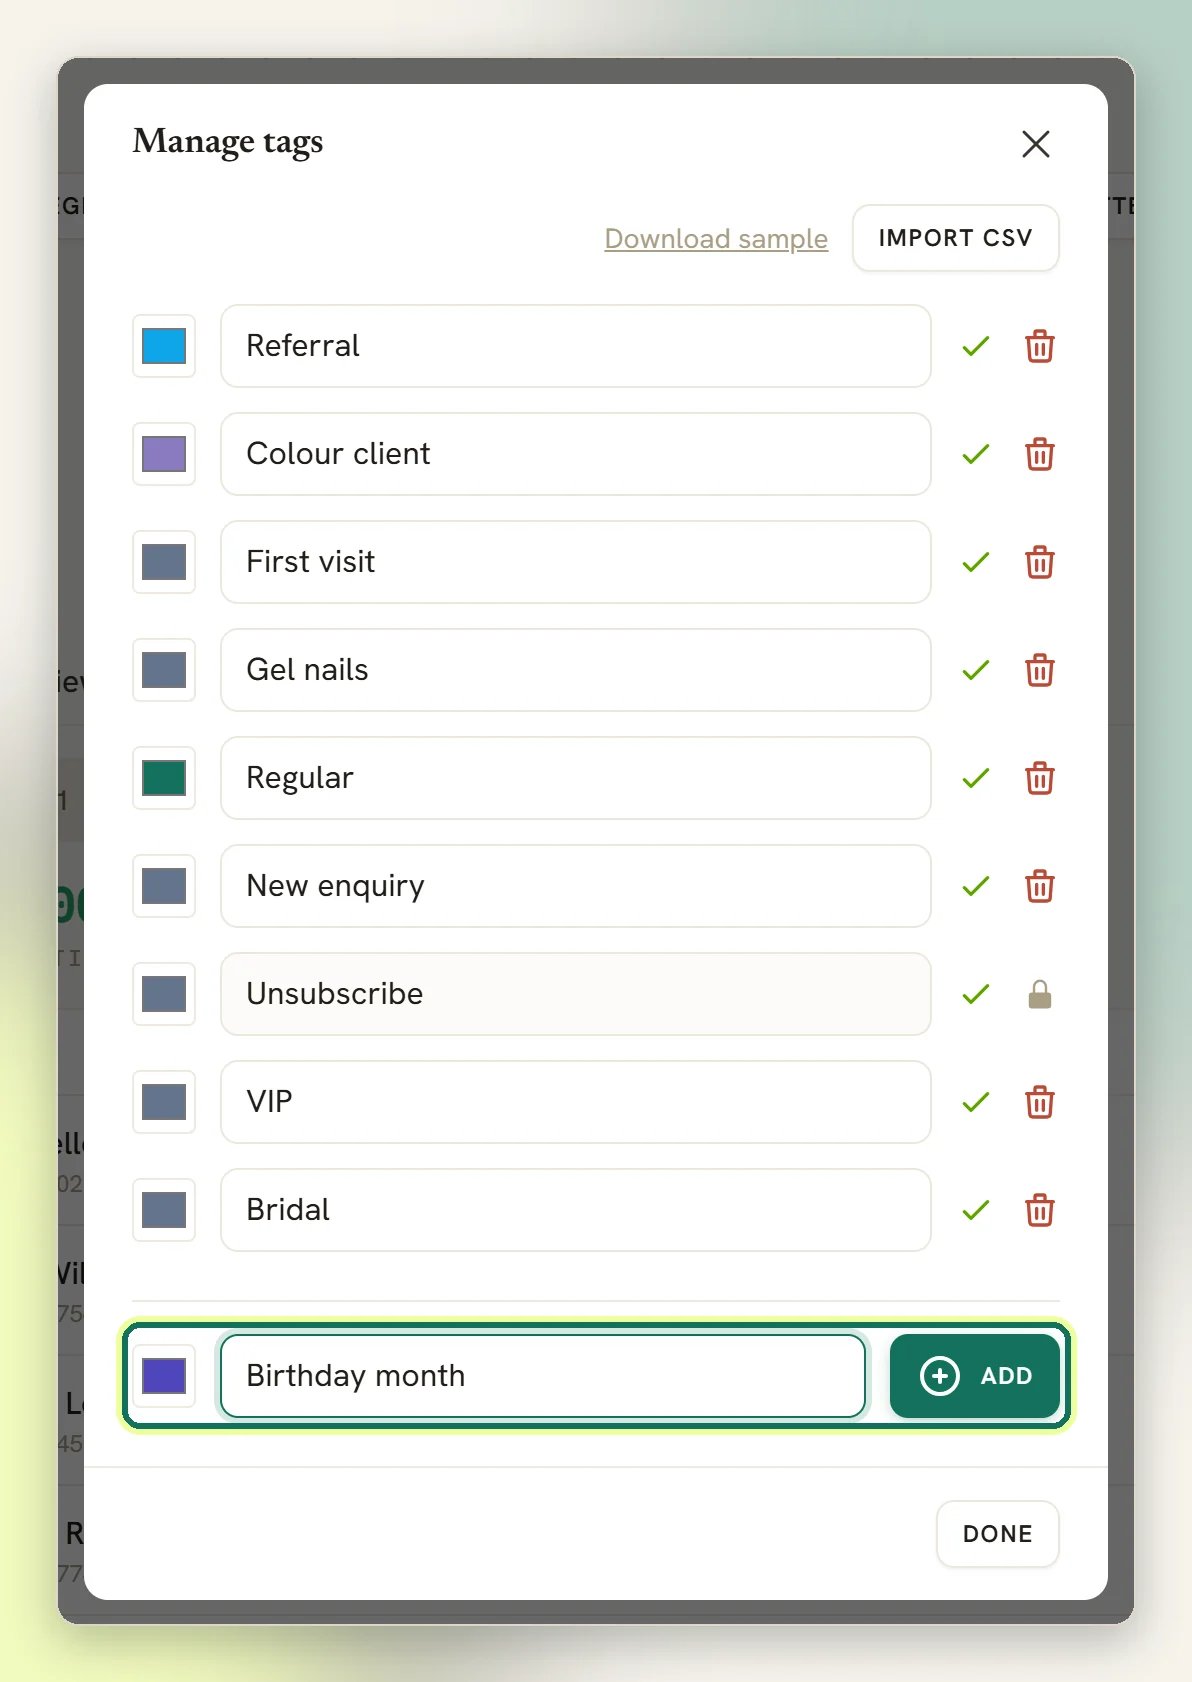
Delete "<tag name>"? It will be removed from all contacts. Because segments are
re-evaluated every time they run, any segment built on that tag starts behaving differently
straight away.
The Unsubscribe tag
Every workspace starts with one tag it did not create: Unsubscribe. You cannot rename or delete it (This tag is required for opt-out compliance and can’t be renamed.), because DMLY drives it automatically. When a contact repliesSTOP, DMLY marks them opted out and applies the Unsubscribe
tag. Resubscribing them removes the tag again. The tag is a mirror of the opt-out so you can
see it on the profile and exclude it in a segment.
You don’t have to exclude opted-out contacts by hand: broadcasts, sequences and automations
already skip them. Excluding the tag is belt and braces, not a requirement.
Segments
Segments live at Contacts → Segments: Reusable audiences for broadcasts, built from stage, tags and recency. That on-screen description covers the original, still-present basic filters. Underneath them sits a second, optional layer called Conditions: a rule builder that can target spend, orders, custom fields, and more. A segment can use either layer alone or both together; when you fill in both, they narrow the same audience. A contact must satisfy the basic filters and the condition groups to match.Basic filters
Always visible at the top of the segment editor.Contact stage here is the pipeline stage, your own sales
process. It is not the same as the Lifecycle stage condition below, which is the
built-in Lead / Client / Inactive / Archived axis. The two look alike and don’t sync with
each other; see Contacts overview
for the full distinction.
Conditions: grouped rules
Select Add group in the Conditions panel to start a rule group, then Add condition to add a rule to it. Each rule picks a field, a comparison, and a value, for example Total spend at least500.
Rules and groups combine on two independent switches, each set to ALL or ANY:
- Within a group, the group’s own match setting decides whether a contact needs all of its rules or any one of them.
- Across groups, the top Match ALL/ANY of these groups setting decides whether a contact needs to satisfy every group or just one.
(stage is Consultation AND spend at least 500) OR (has tag VIP). There is exactly one level
of grouping: a group holds rules, not other groups.
The field picker groups its options the same way the app does (Contact, Engagement
and Commerce):
Comparisons depend on the field; they are not all interchangeable. Lifecycle stage and
Source offer the text set: is, is not, contains, does not contain, has
any value, is empty. Custom field offers that same text set plus greater than,
less than, at least and at most for fields you fill in with numbers. Total
spend, Order count, Loyalty points and Credit balance are numeric-only: is,
is not, greater than, less than, at least, at most and between. They
don’t offer contains, has any value or is empty. Reachable on channel offers
only reachable on and not reachable on. A between rule needs both
numbers filled in: leave the second blank and DMLY drops the whole rule when you save. It
does warn you: One rule was incomplete and was not saved. Check the segment matches who you
expect.
Reachable on channel needs a channel picked, and the picker only lists the channels this
workspace has connected. Leave it blank and DMLY drops the whole rule when you save, with the
same warning it shows for a half-filled between. To browse people by channel rather than save a segment,
use Reachable on in the Filters panel on the Contacts list.
Create a segment
1
Open Segments
Go to Contacts → Segments and select New segment.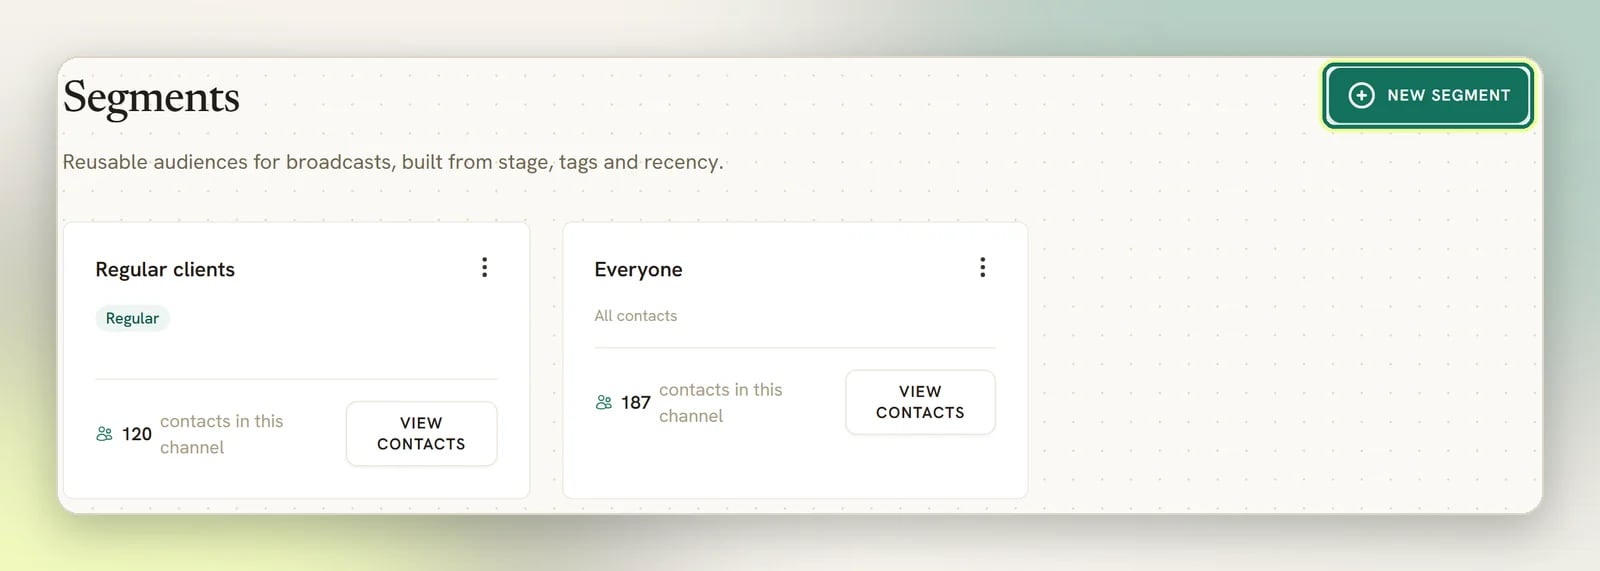
2
Name it
Fill in Segment name. Name it after the question it asks: “VIPs, not lapsed” beats
“Segment 2” when you are picking a broadcast audience three months from now.
3
Set the basic filters
Choose a Contact stage, pick Contact tags the contact must all have, add any
Exclude contacts with tags, and set Number of days since last activity if you want
a recency rule. Leave any of these at their default to skip that filter entirely.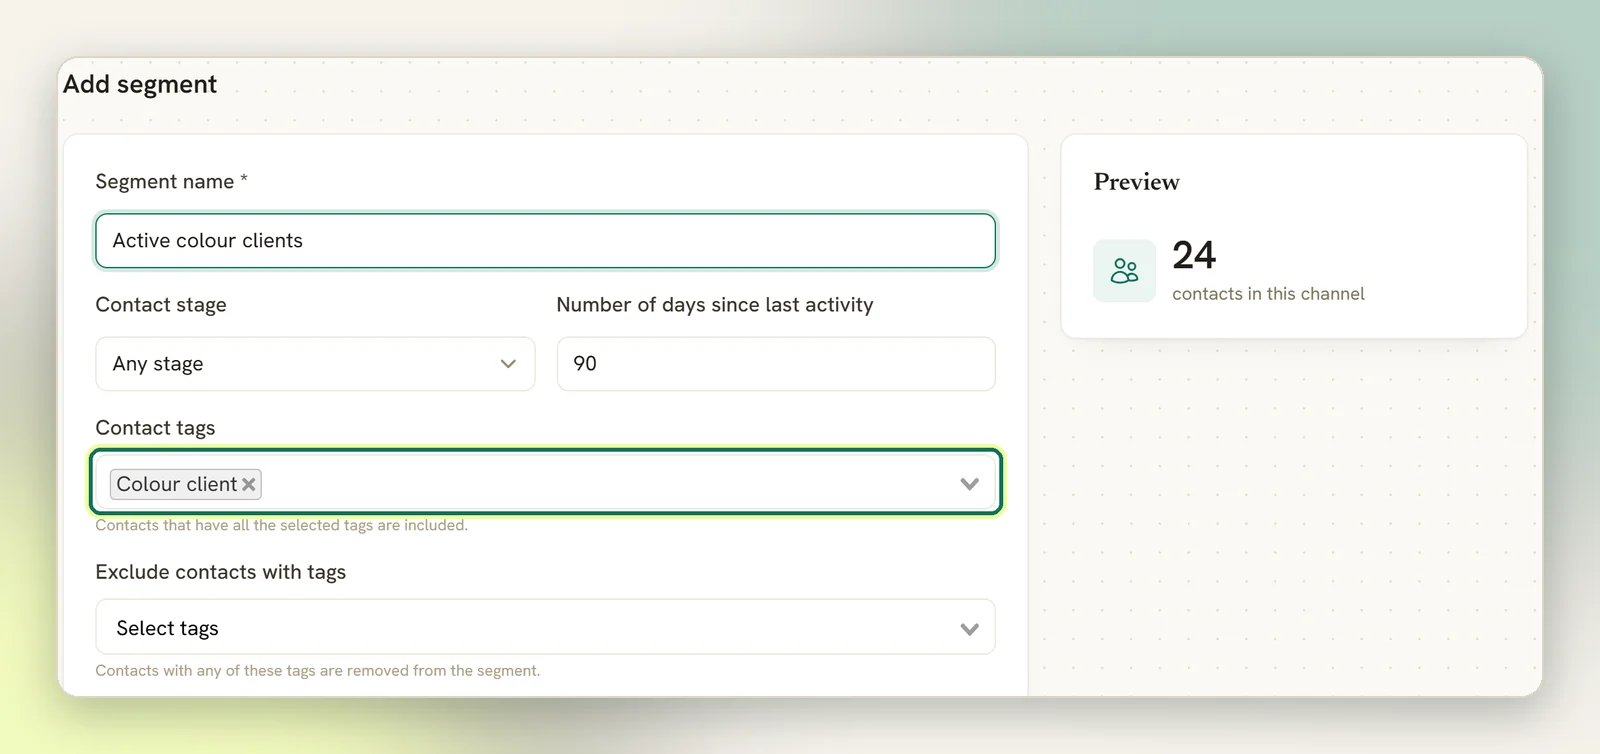
4
Add conditions (optional)
For anything more precise (spend, orders, custom fields, a lifecycle stage, an OR between
two tags), select Add group, then Add condition for each rule, and set the ALL/ANY
match at the group and the top level. Watch the Preview count update as you go.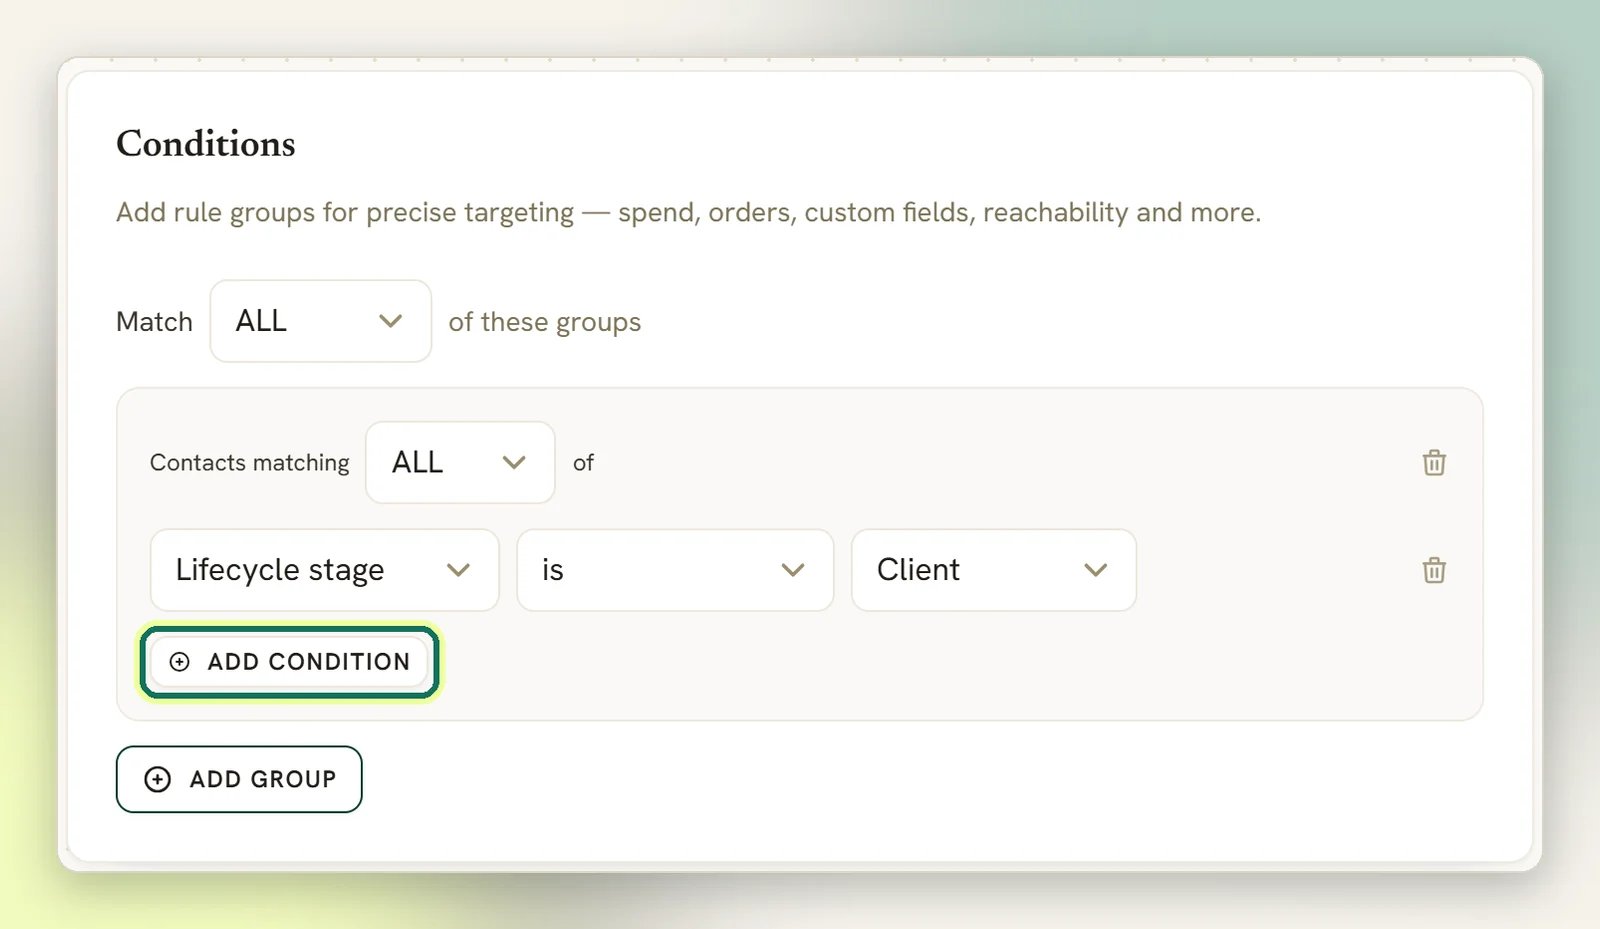
5
Create it
Select Create. The segment appears in the list with a live contact count, plus a chip
showing its total condition count (for example “3 conditions”) if you added any.
The count beside a segment is contacts in this channel; it is scoped to the channel you
are currently in, not your whole Workspace. The same segment can show a different number
after you switch channels. Nothing is wrong; it is counting a smaller pool.
Use a segment
- In a broadcast. This is what segments are for: pick the segment as the audience and it resolves to real contacts at send time. See Broadcast audiences.
- On the contacts list. Select Filters on Contacts, then use the Segment dropdown to filter the list through a saved segment, so you can look at exactly who a broadcast would reach before you send it.
Which one do I want?
Use a tag
For a fact about a person that you decide: VIP, Colour client, Came to the open
day, Prefers mornings. Tags are permanent until removed, and they are what segments
are built out of.
Use a segment
For a group defined by a rule you will reuse: “VIPs in the Engaged stage who haven’t
messaged in 60 days”. It stays correct as people move, without maintenance.
My segment is suddenly empty (or much smaller)
My segment is suddenly empty (or much smaller)
Check, in order:
- Contact tags is an AND. Two tags means contacts need both. This is the usual cause for the basic filters.
- The top-level condition match is ALL. Adding a new group under ALL narrows the segment further, not wider; switch it to ANY if you meant “either of these”.
- The basic filters and the conditions both apply. They’re ANDed together, so a condition group can quietly narrow a segment that looked fine on its basic filters alone.
- A tag was deleted in Manage tags. Renaming is safe; segments match tags by identity, not by name.
- Days since last activity is doing its job: contacts who replied recently no longer match an inactivity rule.
- The count is channel-scoped. Switch channel and the number changes.
Someone who should be in my broadcast didn't get it
Someone who should be in my broadcast didn't get it
Segments decide who matches. They do not decide who is reachable. A contact can match
your segment perfectly and still be skipped at send time because they opted out, were
blocked, or have no open messaging window on that channel. Check the contact’s profile and
the Suppressions view, then
WhatsApp rules and limits.